The hail has stopped, the driveway is covered with leaves, and a strip of siding is lying beside the fence. From the kitchen window, the south wall looks fine. Up close, you notice a cracked corner, an open seam, and a damp streak beneath the window.
Your first job isn't to decide whether the whole house needs new siding. It's to keep people safe, stop additional water entry, and preserve enough evidence to identify what the storm damaged.
Storm Marks That Need Attention Today
Start in the yard, not on a ladder. Walk far enough back to see each wall, then approach the areas you can safely inspect from the ground. A panel can look straight from the driveway while its lower edge has pulled out of the locking strip.
Vinyl may show impact marks, hairline cracks, or broken corners. Aluminum and steel often dimple, while punctures can hide near seams. Fiber cement may chip along an edge or develop an impact crater; wood clapboard can split or lift around its nails.
Sort damage from ordinary aging
Fresh damage often has a distinct edge, displaced material, or a visible impact point. Even fading across a wall is generally aging, not evidence that hail damaged it. Brittle siding can have both old deterioration and fresh storm damage, so photograph what you see without guessing at the cause.
Siding storm signs and how fast to act
| Sign | Material | Urgency | First move |
|---|---|---|---|
| Round dents, no crack or open seam | Vinyl or metal | Photo today; repair can wait for the adjuster | Mark the elevation and count dents |
| Cracked corners or panels out of the lock | Vinyl | This week, sooner if the wall is open | Photo the locks; don't face-nail |
| Courses blown off the wall | Any cladding | Same day | Have openings tarped to solid framing and check for a barrier |
| Edge chips or impact craters | Fiber cement | This week | Photograph; have exposed sheathing checked for softness |
| Lifted or split boards at the nails | Wood | This week | Secure loose pieces only where safely reachable from the ground |
| Damp streak or soft drywall inside | Any cladding | Same day | Photograph the interior before it dries |
| Missing J-channel, soffit, fascia, or gutter | Trim and drainage | Same day if water can enter | Photograph the transition before cleanup |
These are practical triage priorities, not permission to leave an opening exposed until an insurance appointment.
Check more than the siding face
Follow the same route around the trim, J-channel, soffit, fascia, gutters, and window edges. Wind that loosened a siding course may also have damaged the pieces that manage water around it. A new interior stain means the inspection must go beyond the visible cladding.
NOAA identifies Missouri and Kansas among states heavily affected by severe-storm disasters. Checking the whole exterior after severe weather is a sensible local habit, not an overreaction.
The guide to siding damage from hail can help you recognize marks worth documenting. If the eventual claim becomes disputed, PostDamage's resource on public adjusters for storm damage offers context for considering separate claim representation.
Finish the walk around every elevation, including walls that appear untouched. An elevation means a side of the house.
The First 48 Hours After Siding Damage
Work in order: safety, temporary protection, documentation, then investigation. You don't need to expose the whole wall to prove that something happened, and you shouldn't risk an injury to improve a photograph.
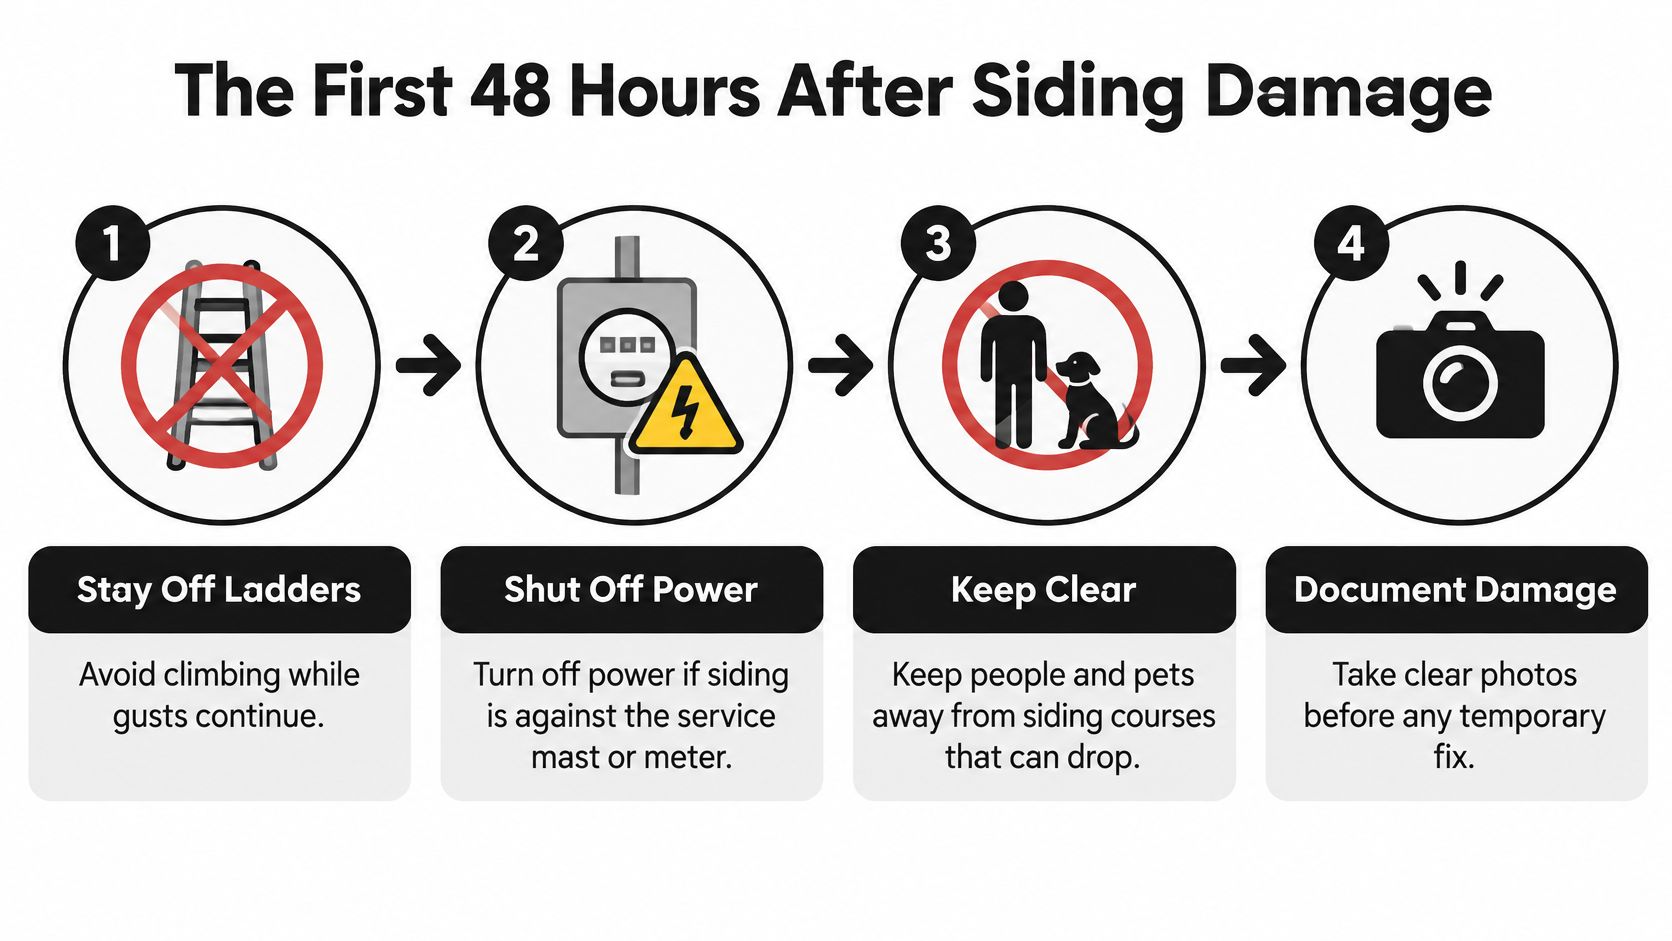
Keep these safety priorities in mind before approaching loose siding.
Make the area safe
Stay on the ground while gusts continue. Use your phone's zoom or binoculars for upper walls. Loose panels can swing outward, and a ladder against damaged cladding isn't a safe inspection platform.
Treat contact with electrical equipment as a utility problem. If siding is against the service mast, meter, or wires, keep away and call the utility. Shut off power only from a safely accessible disconnect, if you can do so without approaching damaged equipment. Don't touch the siding to move it away.
Keep people and pets out of the drop zone. Close off the area below hanging courses, damaged soffits, and loose metal trim. Don't pull on a dangling piece to see whether it will come free.
Protect open walls as soon as safe access allows. A contractor can secure a tarp to solid framing without face-nailing through vinyl that needs to move. Temporary covering should shed water outward rather than create a pocket that funnels rain behind the remaining siding. Save receipts for emergency protection.
Preserve the evidence before permanent work
Photograph wide views before close-ups. Label each wall by direction or a clear location, such as driveway wall. Then photograph individual cracks, missing courses, trim damage, and debris. Include a tape measure or coin for scale without covering the damage, and record interior stains before they dry.
Have representative openings inspected carefully. A qualified contractor can lift or remove siding near a corner and within the wall field to examine the water-resistive barrier, often called the WRB. This is the drainage layer behind the siding. The inspection should also identify damaged sheathing, wet insulation, and framing concerns without stripping an otherwise sound wall unnecessarily.
Record the event and notify the carrier promptly. Note the storm date, observed wind direction, and affected elevations. Don't invent a wind speed. Follow the policy's reporting requirements and ask what inspection the carrier needs before permanent replacement. Emergency water protection shouldn't wait for that appointment.
Hold off on ordering permanent replacement material. Confirm the profile, attachment requirements, scope, and carrier inspection arrangements first. Keep any removed pieces that can be stored safely, especially pieces showing impact damage or identifying marks.
The FEMA wind-vulnerability guidelines describe compliant vinyl siding testing at pressures equivalent to 110 mph for a Risk Category II building up to 30 feet in Exposure B, while emphasizing that actual resistance varies with the product and installation. That isn't a promise that your wall will withstand a particular storm.
A contractor must compare the replacement system's design pressure with the site's wind demand. Missing weather protection, poor attachment, and vulnerable transitions still need correction, even when a product carries an appropriate rating.
Practical rule: New siding over a torn or missing drainage layer is a cosmetic cover, not a complete wall repair.
Use the storm-damage insurance claim process guide to organize communication and inspection records. The useful deliverable is a photo-mapped scope: each affected elevation tied to photographs and line items for panels, trim, flashing, WRB, sheathing, insulation, and interior moisture evidence. A panel count alone leaves too much unanswered.
One Wall or the Whole House
A full-house reskin isn't the default covered repair. Conversely, replacing only the visibly damaged panels isn't automatically the best technical or financial choice.
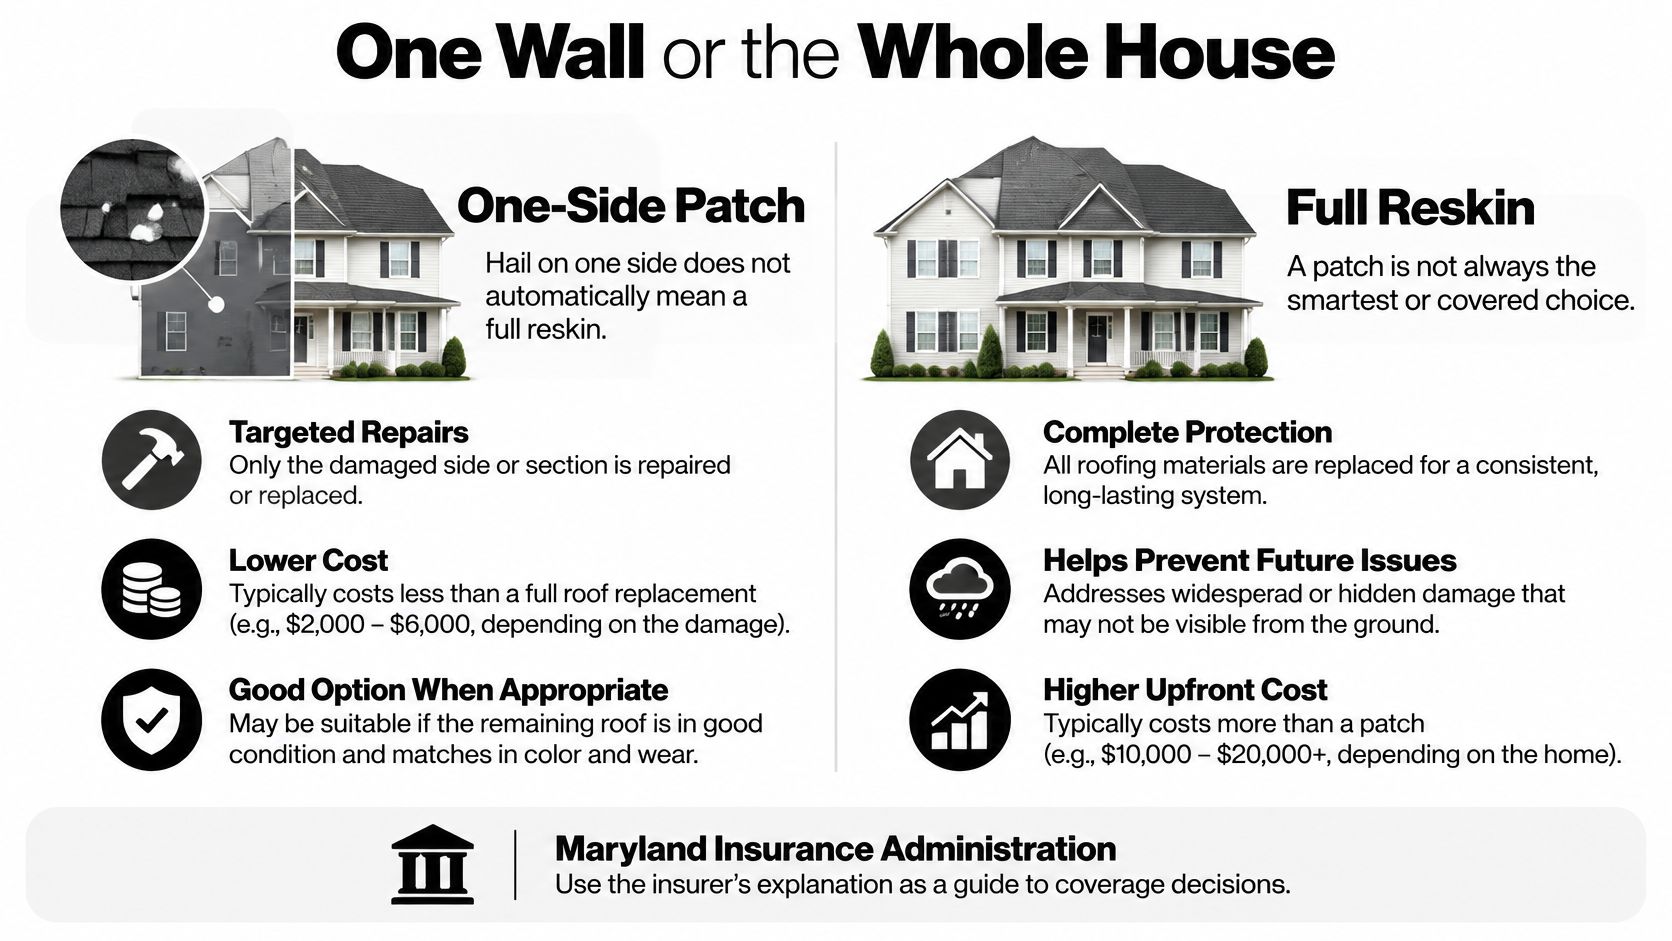
The Maryland Insurance Administration's siding-damage explanation says an insurer may be responsible only for the side damaged by hail, with replacement-cost coverage generally paying the lesser cost of repairing or replacing the damaged material; it also explains that mismatch exclusions and possible appearance allowances affect the outcome. That's a useful model for understanding the issue, not a statement of Kansas or Missouri coverage requirements.
Your own policy form, endorsements, and documented loss control the claim.
The comparison below separates repair practicality from coverage.
Separate function from appearance
Say hail cracks the west wall, but the remaining elevations have no identifiable storm damage. Replacing the west elevation may restore its ability to shed water. Yet bright replacement panels beside faded siding can leave an obvious visual mismatch.
Those are separate questions: what work restores the damaged assembly, and what additional appearance work does the policy cover? A contractor's estimate can describe the repair and explain matching difficulties. It can't expand the insurance contract.
Partial siding loss and what to ask
| Situation | What is usually in play | Ask the carrier |
|---|---|---|
| Hail or wind on one elevation only | Repair of the damaged material, often the lesser of repair or replacement | Is coverage limited to that elevation? |
| New panels won't match faded siding | Appearance versus function | Is there a matching clause or appearance allowance? |
| Policy excludes mismatch | Uniform replacement may be out of pocket | Please identify the exclusion before tear-off. |
| Color or profile no longer made | A sound partial repair can still look patched | What will you allow if matching stock is unavailable? |
| Code forces a larger repair | Ordinance-or-law coverage, if included | What limit applies, and does it apply to this siding work? |
| Payout is depreciated | Actual cash value initially, with later recovery only if applicable | What documents and deadlines apply to recovering depreciation? |
Put the decision in writing
Build the decision around complete elevation photos, the distinction between functional and cosmetic damage, and confirmation that replacement stock exists. A similar color isn't necessarily the same panel: profile, thickness, texture, and locking geometry matter too.
Ask the carrier to explain matching, ordinance-or-law, depreciation, and partial-loss provisions in writing. If you choose broader replacement for appearance, request a separate price for the homeowner-funded portion rather than assuming insurance will absorb it.
A technically sound repair and a fully covered repair aren't always the same scope.
Once the photo set exists, report the loss within your policy's reporting window. Put the assigned claim number on follow-up emails with the storm date, observed wind direction, affected elevations, and photo map.
Request an inspection date and a line-item estimate. Before tear-off, compare that estimate with the documented wall components, not just the siding area, and send unresolved matching questions in the same email thread.
Repairs You Can Do and Jobs for a Crew
The DIY boundary isn't how confident you feel with a hammer. It's whether you can restore the attachment correctly, verify the wall behind it, and work safely.
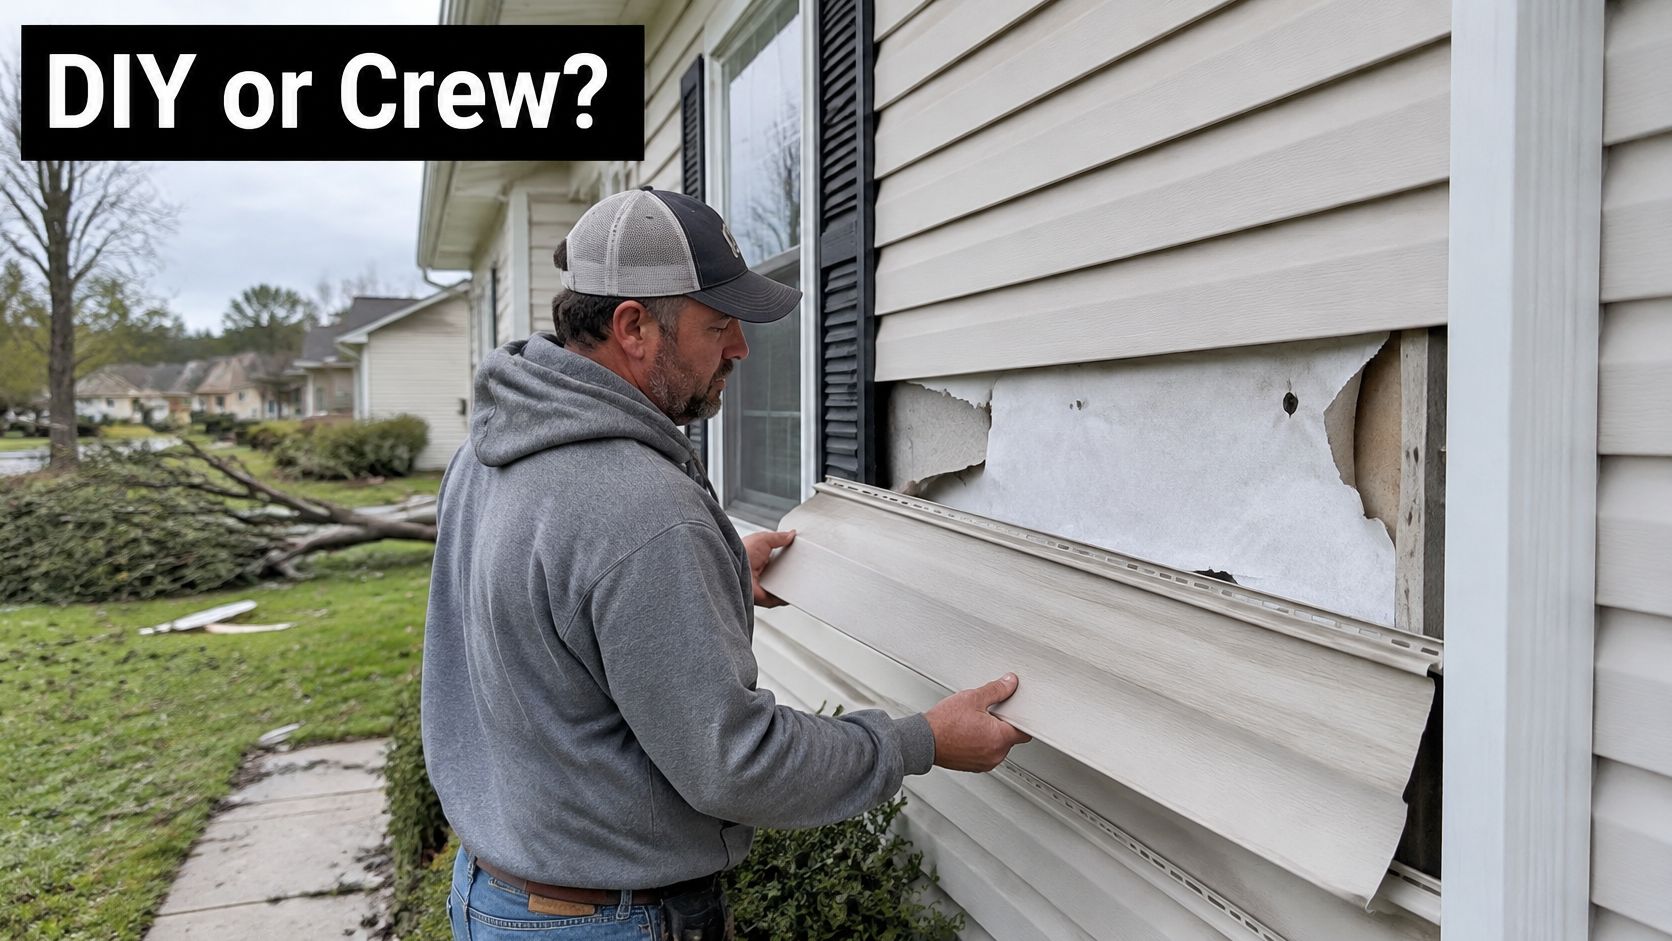
This installation view shows the kind of controlled access siding work requires.
Let fastening requirements set the boundary
A limited vinyl repair may suit a capable homeowner when the panels remain usable, the barrier is intact, the interior stayed dry, and the work is safely reachable. A vinyl siding zip tool helps release and reconnect the lower lock without prying against the panel face.
FEMA's coastal construction guidance specifies a minimum 1-inch staple or roofing nail, generally spaced 12–18 inches on center, driven straight and level so vinyl can move, with manufacturer requirements controlling the installation. Minimum fastener length isn't a substitute for achieving the required penetration into suitable backing.
Place fasteners in the nailing hem as the product instructions specify, and don't clamp the hem tight. Confirm that the lower edge locks continuously into the course below. Proper starter strips and utility trim matter because an unsupported edge gives wind a place to get underneath.
Don't face-nail vinyl to stop movement. Don't indiscriminately caulk overlaps, corner receivers, or J-trim either. Vinyl needs room to expand and contract, while water must be able to drain.
DIY or crew for siding storm repair
| Situation | Who | Why |
|---|---|---|
| Few vinyl panels that still lock, barrier intact, first story | DIY if safely accessible and within your skills | Correct hem fastening and full lock engagement are essential; no face-nailing |
| Torn water-resistive barrier or soft sheathing | Crew | Repair the underlying wall before reinstalling panels |
| More than one elevation open | Crew | Coordinated protection and a complete damage map are needed |
| Work above the first story | Crew | Ladder and fall risk |
| Meter or service mast involved | Crew or utility | Electrical hazard |
| Interior stains have started | Crew | Moisture may have spread past the cladding |
| Fiber cement after wind | Crew | Stud support and product-specific high-wind attachment require care |
| Manufacturer publishes a high-wind schedule | Follow that schedule | A tighter schedule overrides homeowner habit |
Know when the job has changed
Windows, penetrations, and wall transitions need flashing integrated with the WRB. A bead of caulk on the siding face doesn't replace that drainage detail.
Fiber-cement repair deserves particular care after wind damage. Board ends need proper support at studs, and high-wind applications may require face-nailing through the overlap according to the specified system. Don't transfer vinyl fastening habits to another material.
Use the video as a visual companion, not a replacement for the exact product instructions.
For comparison with restoration work outside the Midwest, Eagle Restoration's resource on storm damage repair in Marion County provides a regional reference. Local wind demands and manufacturer details still determine the Kansas City repair.
If opening the siding exposes wet or deteriorated material, stop treating the job as a panel swap. Cover the opening safely and have the underlying condition assessed before closing it.
How Long the Repair Takes and What Raises the Bill
Plan around project phases rather than an unsupported promise that the house will be finished by the weekend. The table gives scheduling checkpoints, not guaranteed contractor or insurer turnaround times.
Storm siding repair timeline
| Phase | Planning window | What stretches it |
|---|---|---|
| Make safe and photograph | Same day when conditions permit | Ongoing wind, darkness, or no safe ground access |
| Contractor look at the wall | Earliest confirmed appointment after safe access | A metro-wide hail backlog |
| Claim filed | As soon as photos exist and within policy requirements | Missing information or reporting delays |
| Adjuster inspection | Carrier-confirmed appointment | Catastrophe scheduling |
| Scope approved | After inspection and review of any supplement | Barrier or sheathing damage found after opening |
| One elevation, stock material | Scheduled after material arrives and scope is settled | Color or profile availability |
| Sheathing or barrier repair | Before cladding installation, after necessary drying | Moisture, supplements, and access height |
Expect scheduling pressure after a regional storm
The Kansas Department of Insurance reported 147,710 storm claims in 2023 for homeowner and automobile losses, including hail, wind, water damage, and other weather-related claims. That isn't a siding-only count or a forecast for your appointment, but it illustrates the breadth of storm-related insurance work.
Ask for confirmed dates at each handoff: inspection, estimate review, material delivery, and crew scheduling. Keep temporary protection separate from the permanent-work calendar so an unresolved claim doesn't leave the wall exposed.
This timeline shows the sequence to discuss with the contractor.
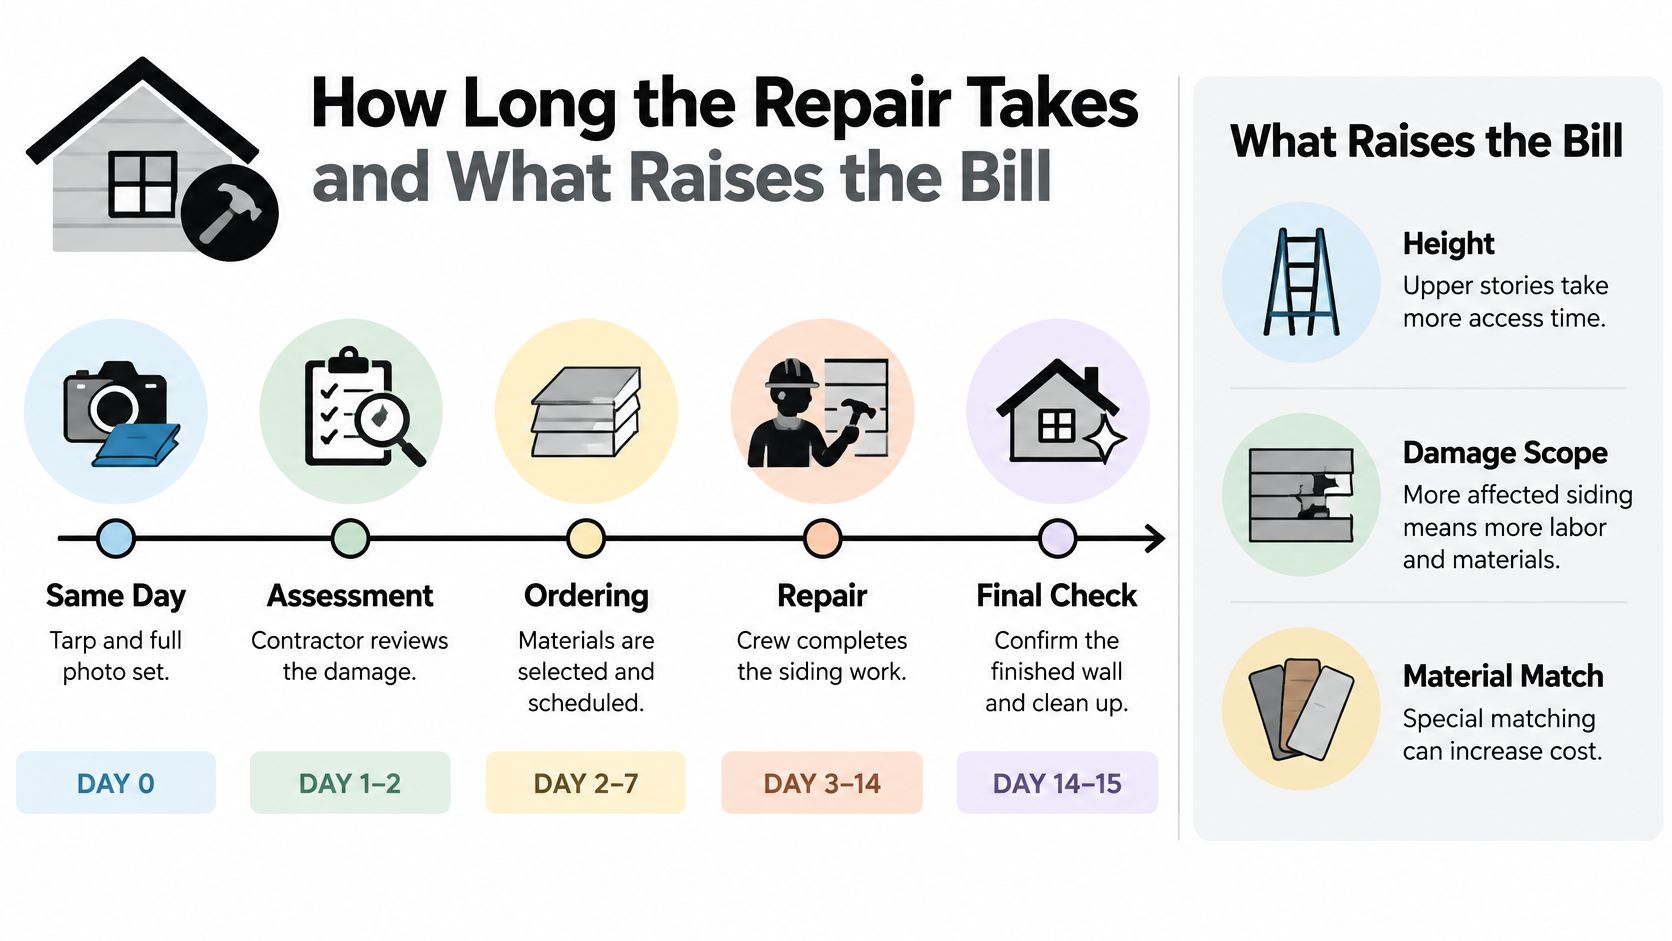
Understand what changes the estimate
Wet cavities and unavailable profiles are common reasons a straightforward-looking job becomes more involved. A crew shouldn't enclose damp insulation or deteriorated sheathing just to keep an installation date. An unavailable profile may require a different repair boundary rather than a forced connection between incompatible panels.
Separate the construction cost from your out-of-pocket responsibility:
- Construction cost: Access height, wall area, removal, disposal, flashing details, and hidden substrate damage affect labor and materials.
- Material availability: Special-order colors or profiles can change both price and sequencing.
- Insurance payment: The deductible, depreciation terms, approved scope, and covered matching provisions determine your share.
The exterior siding replacement cost guide can help you organize estimate questions. Compare line items rather than copying a neighbor's total, especially if their project included different materials or broader replacement.
Before closing the wall: Photograph newly exposed damage and submit the supporting scope while the claim remains open.
A supplement should identify what changed, where it was found, and why the additional work is necessary. Keep unrelated maintenance separate so the carrier can evaluate the storm-related request clearly.
Schedule a Storm Siding Inspection
A capable homeowner may be able to rehang limited, safely reachable vinyl over a sound, dry wall. Wider damage calls for a crew that investigates enough of the assembly to identify what needs repair before covering it.
Book the inspection before authorizing broad tear-off. Arrive with elevation photos, the carrier's estimate if available, and your written questions about matching and recoverable depreciation. That preparation gives the inspection a clear purpose beyond measuring replacement siding.
Request a scope you can use
At Two States Exteriors LLC, we serve Kansas and Missouri and provide siding installation alongside insurance-claim, hail-damage, and storm-damage services. Our claim-support process includes help documenting the loss and supporting carrier supplements.
Use our contact form and select Insurance Claims or Siding Installation. Request an on-site inspection and a written scope that distinguishes confirmed damage from conditions requiring further investigation.
Ask that the inspection record include:
- Elevation references: Tie repair areas to identifiable walls and photographs.
- Hidden-condition flags: Identify where barrier, sheathing, or moisture concerns require selective opening.
- Repair boundaries: Explain where the proposed work starts and stops.
- Coverage distinctions: Separate the documented repair need from optional appearance upgrades.
Choose materials after defining the repair
Don't select replacement siding solely from a small color sample. Compare its profile and texture with the existing wall, and consider how the difference will look at corners and transitions.
Supplier resources can help homeowners find siding for exterior renovations, including Blue Lake Roofing Supply's material-selection resource. Availability through an out-of-area supplier doesn't establish local stock or compatibility with your existing system, so confirm both before ordering.
We are a GAF Certified Contractor, a roofing credential rather than a substitute for siding-specific installation requirements. The standard for this job remains a clear wall assessment, appropriate materials, and a written scope the documented loss and policy can support.
You don't need to arrive knowing whether the answer is a patch, an elevation replacement, or a broader project. You need an inspection that explains why the proposed storm damage siding repair is the right size.
Two States Exteriors LLC offers siding installation and storm-damage claim support for Kansas City-area homeowners in Kansas and Missouri. Visit Two States Exteriors LLC to request an on-site inspection and a written repair scope that accounts for the wall behind the panels, not just the visible damage.