
A yellowish ring on the bedroom ceiling after a spring thunderstorm is easy to dismiss when the dripping stops. Put a bucket under it, wipe the floor, and promise yourself you'll call someone tomorrow. That instinct is understandable, but the stain is only the visible part of the problem. Water may have traveled along a rafter, soaked insulation, or reached wiring before it appeared indoors.
Leaking roof repairs are a triage decision, not one universal patching task. You need to decide whether the roof needs an immediate stopgap, a monitored repair plan, a full repair, or an insurance review. That decision depends on the activity of the leak, the condition of the roof system, and what the storm may have damaged above the ceiling.
When a Drip Becomes a Decision
The first question isn't, “How do I cover this stain?” It's, “What is happening inside the roof right now?” A dry, old-looking mark after a single storm calls for a different response than water actively running beside a light fixture.
Match the symptom to the response
Cosmetic staining is the least urgent category, but it still deserves investigation. If the ceiling ring is dry, the paint isn't bubbling, and the attic shows no damp insulation or wet framing, you may have time to arrange an inspection rather than climb onto the roof immediately. Don't paint over the mark until you've confirmed the moisture source is inactive. Fresh paint hides evidence and makes it harder to tell whether the problem returned.
Active intrusion needs attention the same day. This includes a continuing drip, a spreading wet spot, bubbling drywall, damp insulation, or water near a light, outlet, fan, or other electrical component. Move furniture and electronics, place a container under the water, and shut off power to the affected circuit only if you can do so safely. If water is near electrical equipment, call an electrician or emergency roofer rather than reaching through a wet area.
Structural saturation is the category homeowners shouldn't try to manage with caulk. A sagging ceiling, soft roof decking, crushed insulation, stained rafters, musty attic air, or damage from a fallen limb suggests that water has entered the roof assembly. Stay off the roof and keep people away from the affected room until a professional evaluates the structure.
Practical rule: A stain can wait for a scheduled inspection. Active water needs a stopgap now. Sagging materials or electrical involvement mean you should stop experimenting and get qualified help.
Roof systems have finite service lives. A Canadian National Research Council publication places typical effective roof service lives at about 10 to 25 years in its roof life-cycle guidance. That doesn't mean every roof fails on schedule, but it does mean a leak on an older roof may be evidence of broader aging rather than an isolated defect.
The decision also affects insurance. Wind and hail are major drivers of residential roof loss costs, accounting for more than half of residential claims, according to Verisk's 2025 U.S. roof report. If the leak followed a documented storm, preserve evidence before sealing anything permanently.
How to Pinpoint Where the Leak Is Really Coming From
The stain on the ceiling rarely marks the exact hole in the roof. Water follows gravity, rafters, roof decking, insulation, and framing, then appears wherever it finds a weak point. A reliable diagnosis follows a sequence instead of starting with a tube of roof cement.
Start below the roof
Map the interior symptom. From the room below, photograph the stain and mark its outside edge with a pencil. Note whether the area is expanding, whether paint is blistering, and whether the water appeared during rain, afterward, or during snowmelt. Trace the position relative to walls, ceiling fixtures, and the attic access.
Inspect the attic. Use a bright flashlight and step only on solid framing or installed walk boards. Look for dark sheathing, damp insulation, water tracks, rusty fasteners, and daylight pinholes. Pay particular attention around plumbing vents, roof vents, chimneys, skylights, valleys, and other penetrations.

Confirm the exterior source
Inspect the roof surface. From the ground, binoculars can reveal missing or lifted shingles, exposed nail heads, damaged ridge caps, and displaced flashing. If the roof is low-slope, dry, and safely accessible, inspect boots, seams, perimeter edges, penetrations, and old repair patches. Don't walk a wet, icy, steep, or visibly weakened roof.
Run a controlled water test. A helper should remain in the attic while one person uses a garden hose outside. Begin at the lowest suspect area, keep the flow low, and test one small zone at a time before moving upslope. Professional guidance from the National Roof Authority's leak diagnosis resource recommends roughly 10 minutes per test zone, with a second observer watching for renewed moisture.
The sequence matters because the visible stain may sit far from the entry point. Industry guidance cited by that resource places the overwhelming majority of diagnosed leaks at penetrations, flashings, seams, and perimeter details. Patching the ceiling or caulking the first suspicious shingle may stop nothing if the breach sits higher on the slope.
For a local inspection option focused on tracing the source rather than guessing, review Two States Exteriors' roof leak detection service. Before anyone removes shingles or cuts drywall, ask for photographs showing the suspected entry point and the path from the roof surface to the interior symptom.
Here's a visual demonstration of the kind of controlled inspection process that helps separate a roof entry point from an interior symptom:
Emergency Fixes You Can Do Tonight
A stopgap repair has one job, keep water from spreading until the roof can be assessed. It isn't a substitute for locating the breach, checking the decking, or choosing a compatible permanent repair.
Begin indoors. Put a bucket or plastic tote below the drip, then move rugs, furniture, electronics, and anything absorbent out of the splash zone. If the ceiling has formed a water bubble, a controlled puncture at its lowest point can release pooled water into a container and reduce the chance of a larger drywall collapse. Keep your face and hands out of the drop area, because the water may be dirty and the softened ceiling material can break unexpectedly.
Run a box fan across wet surfaces and use a dehumidifier where safe electrical service is available. Open doors between rooms to improve air movement, but don't aim fans at an area with exposed wiring or an active electrical hazard. Photograph everything before cleanup, including the ceiling, flooring, damaged belongings, and the water path.
Use a tarp only when access is safe
If the weather is dry and the roof slope is walkable, a 6-mil tarp can cover a small suspect area temporarily. Extend it beyond the suspected breach and secure the edges with 2x4s. Don't nail the tarp through the roof. Nails create new penetrations, and a loose tarp can become a wind hazard.
A tarp isn't appropriate when decking sags, shingles are slick, the roof is steep, or you need to work above a single-story eave. It also isn't appropriate after a limb strike that may have damaged framing. In those cases, keep people off the roof and call a contractor for emergency covering.
A temporary cover buys time. It doesn't prove the roof is repaired, and it won't correct saturated insulation, damaged flashing, or rotten decking.
For help arranging a temporary cover in the Kansas City area, you can review Two States Exteriors' emergency roof tarping service. Keep receipts for tarping, drying equipment, and emergency mitigation if a storm-related insurance claim may be appropriate.
The practical limit is simple. If water is near electrical equipment, if the ceiling or decking is sagging, or if you need fall-risk access, stop at interior protection and ground-level documentation. Emergency leaking roof repairs should buy days or weeks while you arrange a permanent plan, not encourage you to ignore the roof for an entire season.
Patch It, Monitor It, or Replace It
The size of the ceiling stain doesn't tell you whether a patch makes sense. Roof age, the number of leaks, shingle condition, and the firmness of the decking give you a more reliable picture.
A newer roof with one failed flashing detail is usually a repair candidate. An older roof with several symptoms may need a replacement budget even if the current drip is small. A patch can stop today's leak while leaving brittle shingles, tired underlayment, or weakened decking exposed to the next storm.
Four questions to ask before approving work
- How old is the roof? Compare its age with the typical service-life range discussed earlier. An isolated defect on a younger roof is different from a leak near the end of the roof's expected service period.
- How many leaks have appeared? One confirmed entry point suggests a contained repair. Repeated leaks in different areas suggest the system is losing reliability.
- What do the shingles look like? Curling, cracking, widespread granule loss, exposed fasteners, and missing seal strips raise the risk that a small repair won't be the last repair.
- What does the decking feel like? Firm decking supports repair work. Soft, spongy, or visibly sagging decking points to moisture damage that surface sealant can't solve.
| Roof Age | Leak History | Shingle Condition | Decking Feel | Recommended Action |
|---|---|---|---|---|
| Younger or mid-life | One isolated leak | Generally sound | Firm | Patch the confirmed defect and document the repair |
| Mid-life | Recurring or multiple leaks | Noticeable wear | Mostly firm | Repair urgent areas, monitor closely, and build a replacement budget |
| Older roof | Widespread or repeated leaks | Brittle, curled, or losing surface material | Soft or sagging areas | Seek a replacement assessment rather than stacking patches |
A ten-year-old architectural shingle roof with one failed flashing detail often belongs in the patch category, provided the surrounding materials remain sound. A fifteen-year-old roof with several soft spots and broad surface wear belongs closer to monitoring and replacement planning. A roof beyond twenty years with widespread decking sag is usually a replacement problem, not a caulk problem.
The trade-off is between immediate cash and predictable ownership. A patch costs less today, but repeated access, emergency tarping, interior drying, and recurring damage can make a series of small repairs harder to justify. If the inspection finds sound shingles and firm decking, repair is sensible. If it finds several independent failure points, replacement may protect the house more economically over the years ahead.
What Leaking Roof Repairs Cost in 2026
A dripping ceiling does not automatically call for a full replacement. Repair and replacement address different scopes. A repair corrects a localized defect, while replacement rebuilds the roof system across its service area and may address aging, underlayment failure, or deteriorated decking.
The estimate depends on what the crew must reach and replace. Roof pitch, access, material type, code requirements, labor, disposal, flashing details, and concealed damage can all change the final price.
Cost perspective: The lowest written estimate may cost more over time if it covers only the visible stain and leaves the leak entry point or wet roof assembly unresolved.
Use these figures as 2026 planning ranges, not as a substitute for an inspection:
- Minor flashing or shingle repair: $250 to $700
- Moderate repair involving decking patches: $800 to $2,000
- Full tear-off replacement for a Midwest single-family home: $8,000 to $16,000 or more
National benchmarks provide another point of comparison. Verisk reported average U.S. residential roof repair costs of about $4,699 and average replacement costs of $17,631 in its 2025 reporting on the state of America's roofs. Those averages cover many roof sizes, materials, conditions, and job scopes, so a Kansas City estimate may fall above or below them.

Storm exposure can change the repair decision. Wind and hail account for more than half of residential roof loss costs in the Verisk report. In Midwest neighborhoods, repeated storms can shorten the practical life of a patch. A flashing repair that holds during calm weather may need attention again after wind movement or freeze-thaw cycles stress an already worn detail.
Add up the repairs you reasonably expect over the next five years, including related interior mitigation. If that projected amount exceeds 40% of replacement cost, replacement deserves serious consideration. Use that figure as a planning lens, not a guarantee. A contractor still needs to confirm whether the roof has repairable materials, damaged decking, or a storm event that may support an insurance claim.
Filing an Insurance Claim Without Losing Your Sanity
Call your insurer before permanent storm-damage work begins, unless immediate action is needed to prevent further damage. Keep the first conversation factual. Report when you noticed the damage, describe what you can see, and explain any emergency steps you've taken. Don't guess at the roof's cause, promise that the entire roof needs replacement, or discard damaged materials before the carrier gives instructions.
Build the record before the adjuster arrives
- Photograph the interior. Take wide room views and close-ups of stains, bubbling paint, damaged drywall, wet insulation, and affected belongings. Include the date in your file name or preserve the original phone metadata.
- Document the exterior. Photograph missing shingles, dents, torn flashing, damaged vents, fallen limbs, and other visible storm effects from a safe position. Don't create a fall hazard to get a closer image.
- Write a timeline. Record the storm date, when you first saw the stain, whether water was active, and what temporary measures you took.
- Save mitigation receipts. Keep invoices for tarping, emergency labor, drying equipment, and damaged-item disposal. Ask the insurer whether it wants the items retained or inspected.
Your policy language controls coverage. Actual cash value generally applies depreciation to the value of covered materials, while replacement cost coverage is designed to pay the cost of replacing covered property subject to the policy's conditions. The difference can materially change the settlement, so ask the adjuster to explain your roof's valuation method, deductible, depreciation, and any recoverable depreciation process in writing.
Wind and hail deductibles vary by policy and location. Don't assume a small repair will produce a meaningful payment after the deductible. Compare the documented covered damage with the deductible and the likely out-of-pocket cost, then ask the carrier whether opening a claim affects your policy record.
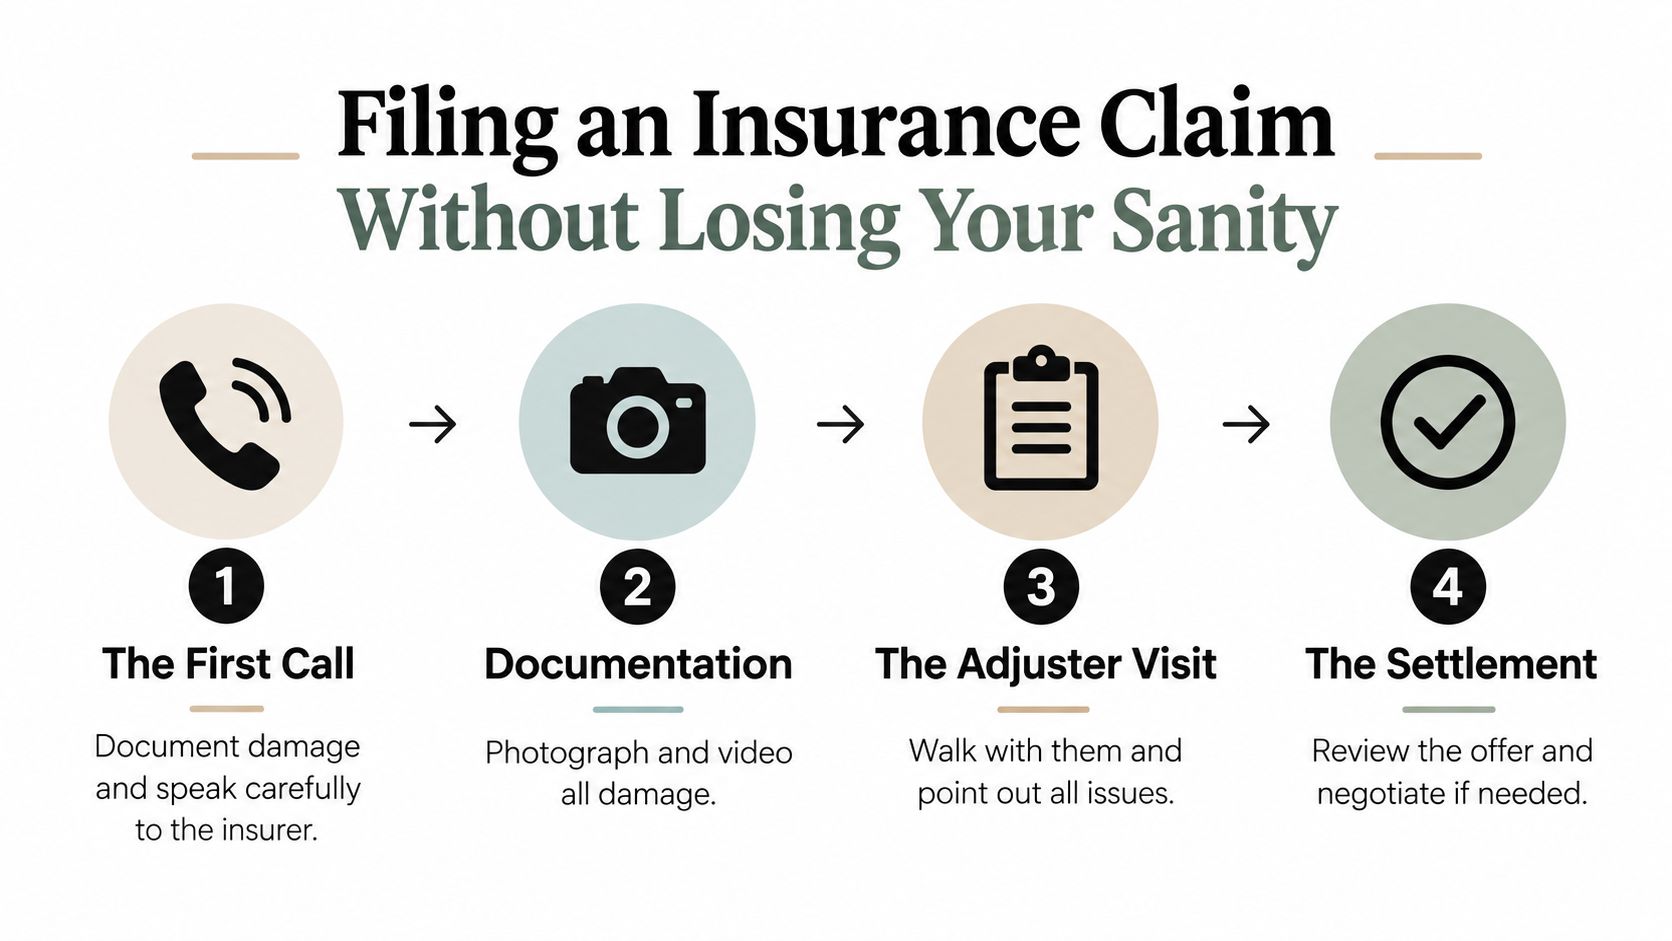
A contractor can attend the adjuster meeting, point out damage that isn't visible from the yard, and compare the written scope with the roof's actual condition. For a plain-language walkthrough focused on storm damage and roof claims, review this guide to handling a leak in the roof insurance claim. You still own the claim decision, and a contractor shouldn't pressure you to file when the evidence doesn't support it.
Knowing When to Hand It to a Pro
Professional help pays for itself when the risk of a wrong diagnosis is higher than the cost of an inspection. A roof leak tied to a chimney, valley, skylight, vent, wall transition, or multiple shingle courses can look simple from the ground and be difficult to isolate without attic and exterior evidence.
Call for an inspection when the damage spans more than a small section, the decking feels soft, or the stain returns after a patch. Mold-like growth, saturated insulation, recurring musty odors, and water near electrical components also move the job beyond sensible DIY work. A recent hailstorm or high-wind event deserves professional documentation before you cover or replace damaged materials.
What a credible visit should include
You should receive more than a verbal guess and a broad price.
- On-site inspection: The contractor checks the interior, attic, roof surface, flashings, penetrations, drainage, and decking, then photographs relevant findings.
- Written scope: The document identifies the leak source, materials to be removed, proposed repair, decking treatment, ventilation or flashing work, and cleanup.
- Itemized estimate: Materials and labor should be separated clearly, with allowances and exclusions identified.
- Credentials: Ask for proof of insurance, applicable local licensing, and authorization to perform the proposed work.
- Relevant references: Request references for similar leak, storm, repair, or replacement projects, not only unrelated exterior work.
Mid-Missouri and eastern Kansas roofs face hard spring weather, wind, hail, and freeze-thaw movement. Those conditions can stress flashing, loosen surface materials, and expose weaknesses that a quick interior patch won't reveal. A documented opinion matters even more when the repair decision may connect to an insurance claim.
Ask the roofer: Where is the entry point? What evidence confirms it? Is the decking sound? What happens if hidden damage appears? Does the estimate separate repair from replacement? Who handles permits, cleanup, and warranty documentation?
For timing, request emergency tarping promptly when active water is entering, a complete written repair assessment after the roof is safely inspected, and a replacement schedule once material availability and the approved scope are confirmed. Don't let a contractor rush you into signing an agreement before you understand the scope, payment terms, warranty, and claim responsibilities.
Two States Exteriors LLC provides roof leak repairs, storm-damage inspections, roof replacement, and insurance-claim support in the Kansas City Metro Area, with free on-site inspections and emergency availability. If water is entering your home, visit Two States Exteriors LLC to request an assessment that separates the immediate leak repair from the longer-term roof decision.


