
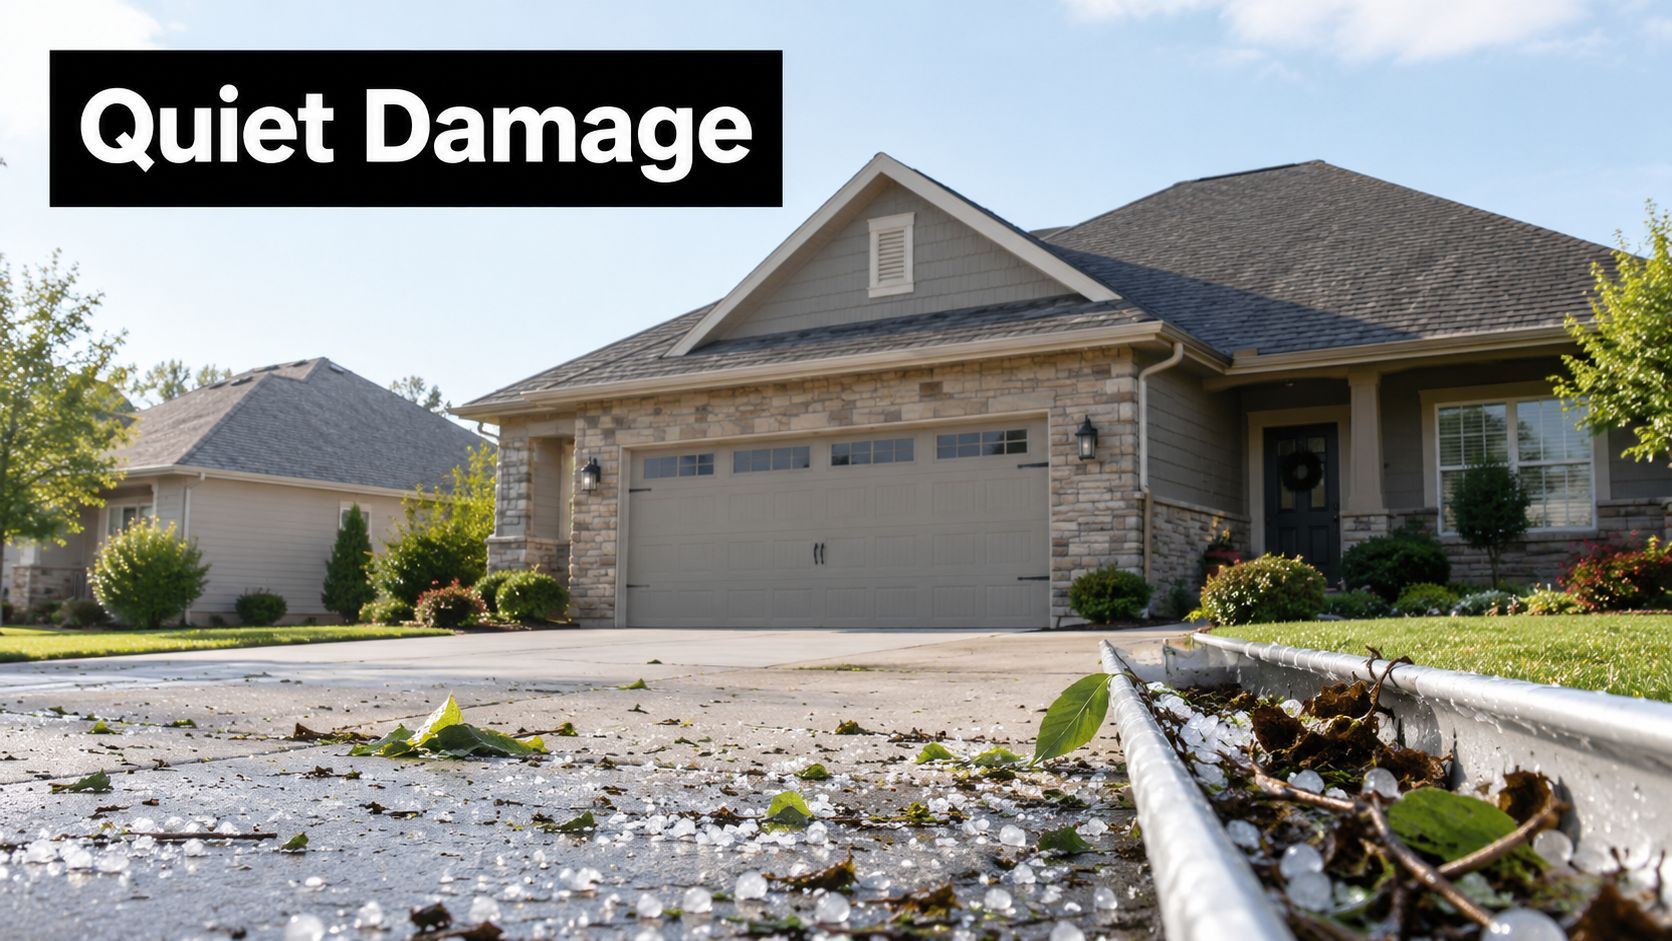
You're standing in the driveway the morning after hail moved through Kansas City, coffee in hand, looking up at a roof that looks just fine. No shingles on the lawn. No drip in the kitchen. Then you notice the gutters are gritty with granules and your neighbor's already got a contractor on their roof. That in-between moment, where nothing looks urgent but you're not sure you're in the clear, is exactly where a careful roof damage assessment matters most.
Why a Quiet Roof Can Still Be Damaged
The morning-after check fools a lot of homeowners because it answers the wrong question. You're asking whether the roof survived. What you can see from the yard is whether anything obvious fell off. Those aren't the same thing, and treating them as if they were is how small storm damage turns into a shortened roof life.
Start with the hail report itself. A news segment saying hail moved through your ZIP code, or a knock on the door from someone saying your street got hit, is context, not proof. It tells you a storm happened near you. It doesn't tell you your shingles are bruised, your flashing shifted, or you have a covered loss. On the flip side, a dry ceiling the next day doesn't prove you're fine either. Water has to get past shingles, underlayment, and decking, then travel to a spot where you'll notice it. That can take weeks.
What Happens Before a Leak Shows Up
Hail and wind do quiet damage first. Granular loss strips the protective grit off asphalt shingles, and those granules end up in gutters and at downspout splash blocks. A bruised shingle can look like a dark spot and feel soft under pressure because the mat underneath is crushed. Wind can crease a shingle edge or lift flashing just enough to break a seal without tearing anything loose. None of that drips on day one. All of it can cut years off how long the roof sheds water the way it should.
Age and upkeep decide how hard the same storm lands. A tired, poorly maintained roof doesn't absorb hail the way a newer, maintained one does. In Verisk's 2025 U.S. roof data on severe hail exposure, 16 states had at least 20% of roofs impacted by severe hail, compared with 12 states in 2024, and catastrophe hail losses represented 33% of all roofing claims in that analysis. The same body of data reports that roofs in poorer condition can sustain 50% more damage during a severe event than better maintained roofs. Identical hail, very different outcomes.
A nearby hail report and a dry ceiling are both weak evidence. One doesn't prove damage. The other doesn't prove safety.
That's why this article uses a two-stage assessment from here on. Stage one is recording what you can document safely, with dates, photos, and storm context. Stage two is close verification of anything that would change a repair or replacement decision, including age, bruising, flashing, and attic moisture. A quiet roof earns a closer look, not a clean bill of health and not an automatic claim.
How to Inspect Safely Before You Climb
Before you look for damage, set up so you don't create a second problem. A wet, icy, or freshly hailed roof is slick, and granules knocked loose by hail act like ball bearings under your shoes. The safest first pass happens with both feet on the ground.
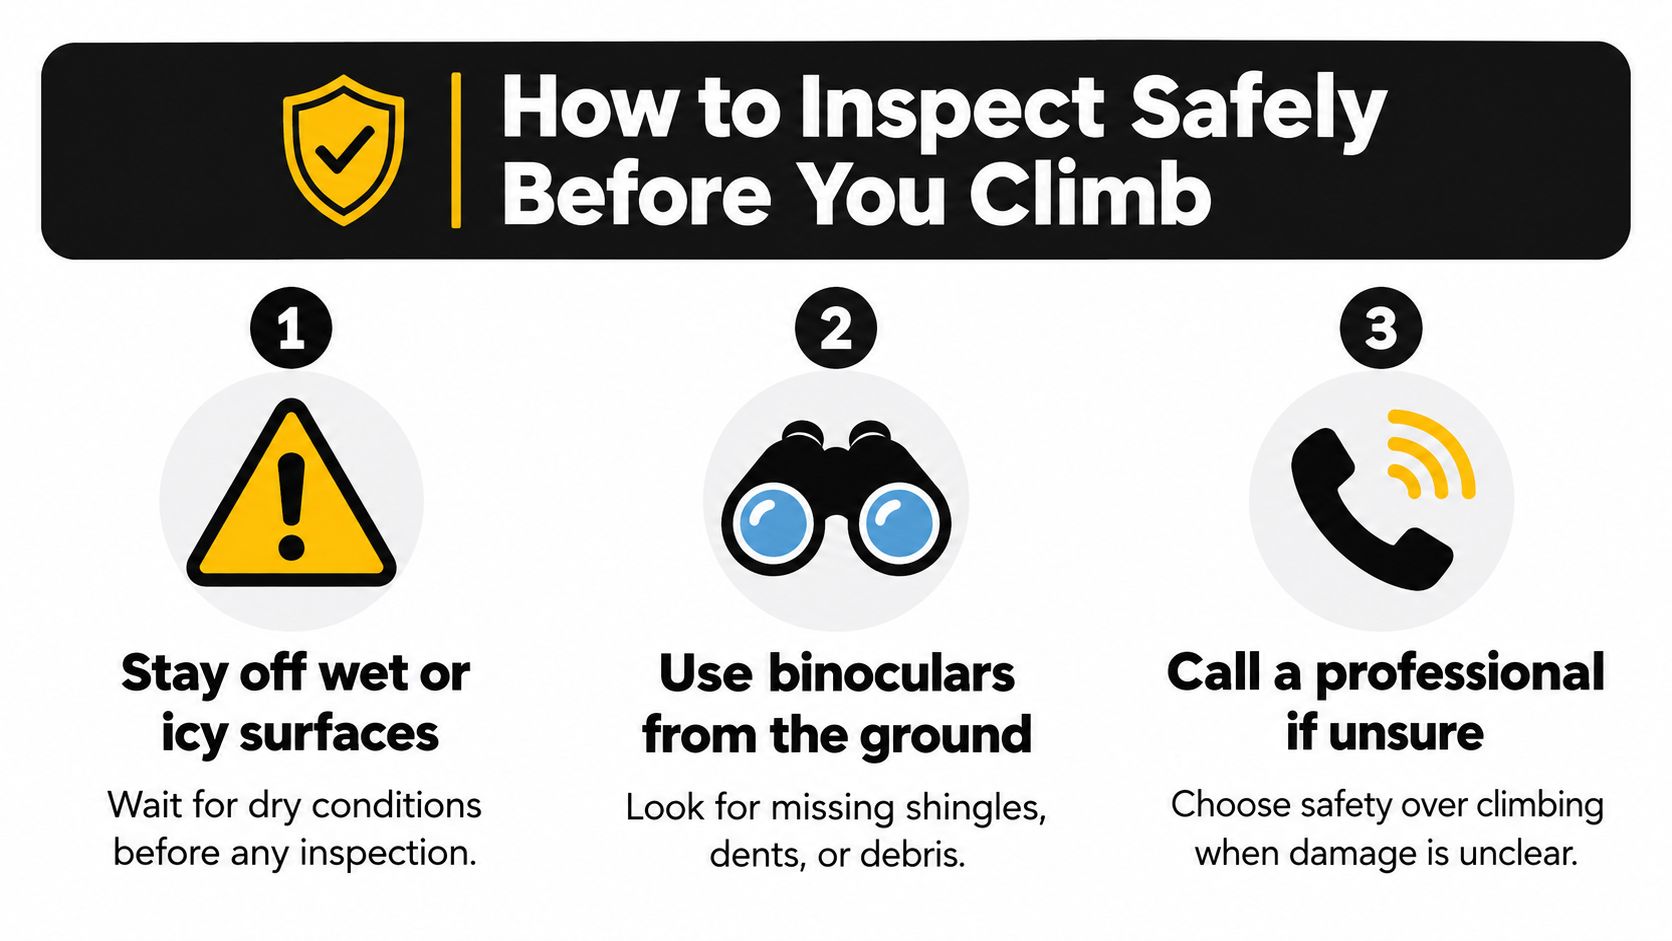
Use binoculars or your phone's zoom from the yard, the street, and a sturdy interior window if you have one that faces a slope. Don't lean a ladder against damaged gutters, and don't climb up just to get a better photo. Keep kids and pets inside while you're walking around, because a loose shingle or piece of flashing can slide off without warning after a storm.
Gather the Paperwork Before You Walk
A few facts make every later conversation, with a roofer or an adjuster, go better. Write them down before you start.
- Install year: If you know when the roof went on, note it. If you don't, note that you don't.
- Material: Asphalt shingle is the usual residential covering in the Kansas City metro, but write down what you have.
- Recent repairs: List patches, replaced pipe boots, or prior leaks, even if they seem unrelated.
- Storm details: Record the date, wind direction if you noticed it, and any hail size mentioned in local reports.
Bring shoes with grip, a flashlight, a notebook, and a phone with date stamps turned on. Make yourself one promise before you head outside. You won't pull shingles to peek underneath, tar a valley, or walk a slope to chase a photo. Temporary fixes done blind can hide the very evidence an adjuster needs to see.
This short walk-through shows the ground-level approach before anyone steps on the roof.
Stop Signs That End the Inspection
Some conditions mean you stop and call for help instead. Soft or sagging decking, a ridgeline that visibly dips, sparking near wet electrical equipment, or ceiling plaster that's actively dropping are not inspection items. They're safety problems. Two States Exteriors is available 24/7 for emergencies in the Kansas City metro, and that kind of call is the right move when the house isn't safe to approach. Everything else can wait for dry daylight and a proper look.
Exterior Clues on Shingles Flashing and Gutters
With your notes ready, work the outside of the house one component at a time. Go plane by plane, meaning slope by slope, and note which side faced the storm. Wind-driven hail and rain rarely hit every slope equally, so a clean back slope doesn't clear the front one.
Reading the Shingle Field
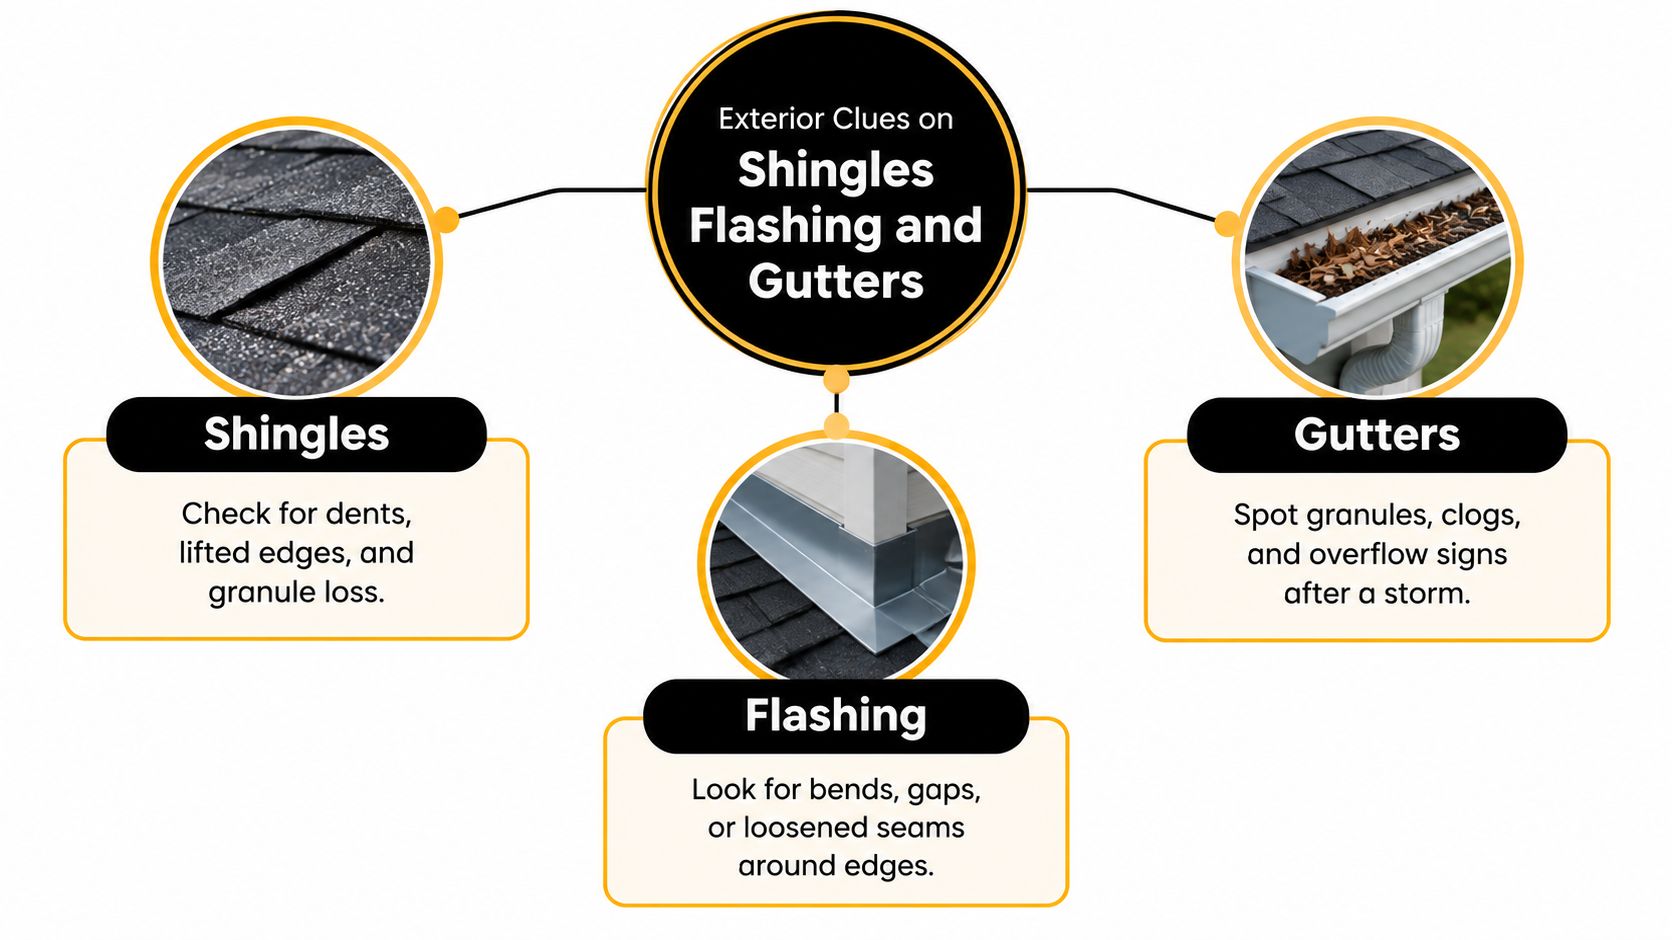
Look for missing tabs first because they're easiest to spot, then slow down. Creased or lifted edges suggest wind got under the shingle and bent it back. Dark, bruised spots scattered across a slope suggest hail impacts. Check the ground, too. Piles of granules in gutters and at downspout splash blocks tell you the shingle surface took a beating even when the slope still looks even from the street.
Here's where homeowners often get confused. A missing shingle is one clue, not the whole story. FEMA's wind vulnerability guidance for existing roofs asks inspectors to examine the load path, including calculating wind pressure demand at each existing roof deck fastener and comparing that demand with fastener capacity. In plain terms, loose or poorly embedded fasteners, uplifted edges, compromised underlayment, and displaced flashing can let water in later even when the covering still looks serviceable today.
That same guidance points to UL 2218 or ANSI/FM 4473 Class 4 impact ratings as the benchmark for hail resistant asphalt products. A rating describes how a product performed in testing. It doesn't prove your particular roof was or wasn't damaged in last night's storm, so don't let anyone sell you certainty based on a label.
Flashing and Gutters Tell Their Own Story
Flashing is the metal work that seals the joints where the roof meets chimneys, sidewalls, skylights, and pipe boots. Look for gaps, bends, lifted seams, and nail heads that have backed out of the metal. These spots often leak early. If you want a closer explanation of how these pieces fit together, this guide to how roof flashing protects joints and penetrations walks through the parts by name.
Finish at the gutters. Bent troughs, separated joints, and stains running down the fascia show water overshot the edge or pooled where it shouldn't. Granules collecting in the trough confirm what's happening up on the slope.
Practical rule: Write down three things per slope. What is visibly displaced, what only looks suspicious, and what you couldn't see well enough to judge.
That last category matters. Honest uncertainty in your notes is more useful to a roofer or adjuster than a confident guess from the driveway.
Hidden Damage in the Attic and Living Space
The exterior walk tells you what the storm did to the surface. The attic tells you what water did after it got past that surface. These are different questions, and skipping the second one is how a homeowner ends up painting over a ceiling stain while the deck above it stays wet.
What to Look for Overhead
Bring your flashlight and move slowly. Daylight showing through the deck means you have an opening, full stop. Darkened or damp sheathing, insulation that feels wet or matted down, a musty odor that wasn't there before the storm, and rusted nail points poking through the deck all suggest moisture is getting in or has been getting in for a while. Note where each sign sits in relation to the rooms below.
Inside the living space, watch for ceiling spots that grow after rain, paint peeling near the tops of exterior walls, and stains that line up with a valley, chimney, or plumbing vent above. A stain that lines up with a bathroom fan is a different conversation. Location is evidence, so record it rather than just snapping a photo of the discoloration.
- Wet areas: Mark the room below and the nearest roof feature above.
- Dry areas: Write those down too, because a dry zone narrows the search.
- Odor and feel: Musty smells and damp insulation count as observations, not proof of a specific entry point.
Why a Stain Does Not Name the Entry Point
Staining alone doesn't prove how moisture entered or how far it traveled. Water runs along decking and framing before it shows up on drywall, sometimes well away from the actual opening. That's the reason a cosmetic paint job can hide an active problem. It covers the symptom while the deck keeps absorbing water.
This is also where a flashlight check ends and professional moisture work begins, especially on low-slope or commercial roofs. A documented survey reviews roof age, leak history, and recent weather, maps the roof into a grid or scans it systematically, establishes a dry area baseline, marks anomalies on a scaled plan, and verifies representative spots with probes or core samples before anyone authorizes tear-out. ASTM D7954 on electrical impedance moisture surveys recognizes both continuous scanning and grid format recording and states that impedance surveys can identify concealed or entrapped moisture in insulated roof systems. The standard is equally clear that impedance surveying alone does not determine how moisture entered the system.
That distinction protects you in both directions. A scan can keep a contractor from replacing a whole roof over one wet area, and it can keep a cosmetic patch from sealing wet insulation and deteriorating decking underneath. If you're trying to trace an active drip back to its source, this overview of professional roof leak detection methods explains how that tracing process works.
Your homeowner version of all this is simple. Map where the attic is wet, where it's dry, and which rooms sit underneath. Then stop pulling at wet insulation. That map becomes the backbone of a repair scope later.
Photos and Severity Notes Insurers Can Use
Finding damage and proving damage are two separate jobs. Weeks after a storm, nobody can inspect your memory. They inspect your photo folder. An adjuster working a string of claims across one neighborhood needs images and notes that still hold up after debris is cleared and temporary repairs go on.
Shoot Wide Then Close
Start with wide shots of each slope so anyone opening the file can tell which side of the house they're looking at. Then move in on ridges, eaves, rakes, valleys, penetrations, flashing, and gutters. Photograph interior stains the same way: wide enough to show the room and wall, close enough to show the stain's edge. Keep date stamps on, and set a reference object in close shots so scale is obvious. A tape measure or even a coin works.
A short video helps when stills feel disconnected. Pan slowly across the whole elevation first, then zoom to the specific spot. That sequence shows an adjuster exactly where a close-up lives on the roof instead of leaving them to guess.
Use Severity Words Instead of Yes or No
Pair every photo set with a severity label. "Damaged" and "not damaged" is too blunt to plan around. FEMA's Hurricane Katrina damage overview sorted structures into four categories that still give homeowners clear language. In that reported assessment area, FEMA recorded 32,130 households with limited damage, 3,932 with moderate damage, 2,584 with extensive damage, and 14,862 with catastrophic damage, for a total of 53,508 households.
How Roof Damage Severity Was Categorized
| Category | What it describes | Households recorded |
|---|---|---|
| Limited | Generally superficial effects such as lost roof shingles or tiles | 32,130 |
| Moderate | Missing roofs or roof segments | 3,932 |
| Extensive | Missing roofs that exposed interior walls | 2,584 |
| Catastrophic | Widespread destruction of solid structures | 14,862 |
Read those figures as vocabulary, not as a prediction for your claim. They come from one hurricane assessment area, and what they hand you is the language to separate a few missing tabs from an open deck exposing interior walls. Those are different claims with different urgency, and they deserve different words. One clear severity sentence per area of your roof helps everyone prioritize temporary protection and scope an estimate accurately. If you're preparing to file, this walkthrough of the storm damage insurance claim process lays out the order those conversations usually follow.
Save the folder before cleanup. Once debris is hauled off and a tarp goes on, the original condition exists only in your photos.
Build one folder per storm. Include the storm date, your install year, slope by slope notes, photo file names that match those notes, and one severity sentence per area. That folder is the difference between asking an adjuster to trust you and handing them a record they can verify.
When to Call Two States Exteriors Next
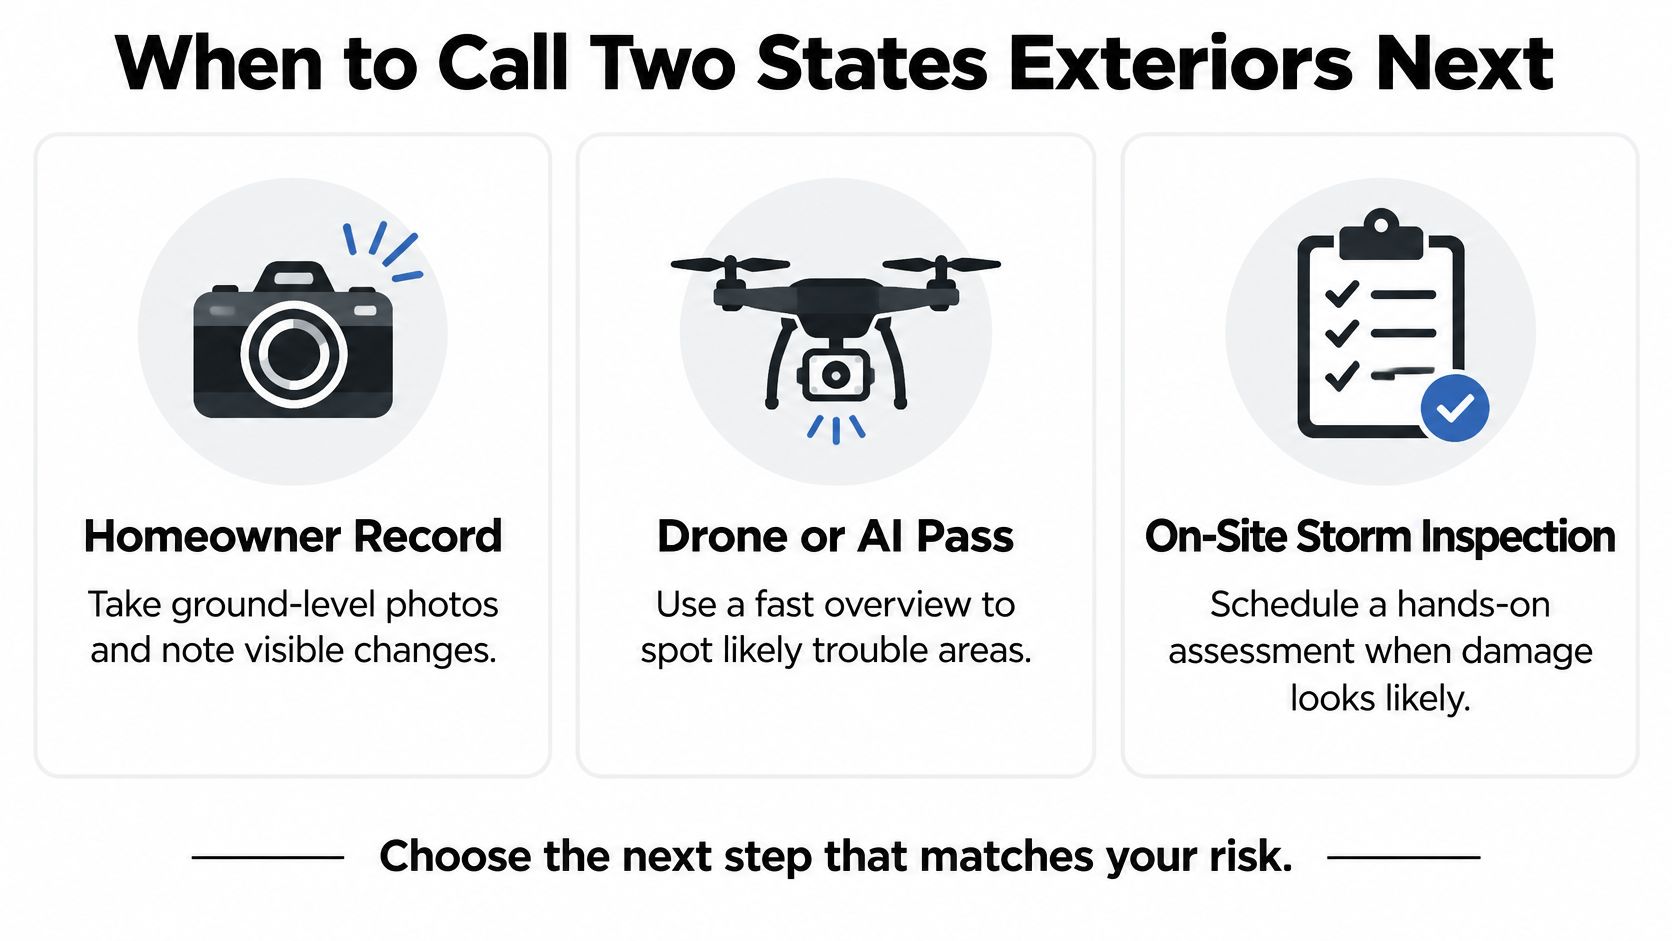
At some point your notes stop answering the question you care about, which is whether this roof needs a repair or a replacement. Three kinds of assessment can get you closer, and they aren't interchangeable.
Three Options Compared Honestly
A homeowner record is free and useful. Dated ground-level photos, slope notes, and attic observations give any professional a head start. Its limit is reach. You can't feel a bruised shingle, test a fastener, or check a deck from the yard.
A drone or AI pass adds coverage. Aerial images document missing shingles, open penetrations, ponding, and debris across every slope without anyone climbing. But the research urges caution about treating that imagery as a verdict. In a 2025 Purdue study of automated drone based roof damage detection, researchers trained a model on 7,937 drone images from 25 aging public buildings and found that imbalanced training data caused it to favor common, visually obvious defects while producing higher false negative rates for less represented damage types. Visible images can also miss what other data reveals, since thermal variation can indicate concealed moisture that a standard photo won't show. A drone often can't settle hail bruising, fastener failure, attic moisture, or whether localized damage has used up the roof's remaining service life.
An on-site storm inspection is the verification stage. A roofer gets close enough to feel soft spots, check flashing and fasteners by hand, inspect the attic, and say plainly what's confirmed, what's suspected, and what's still uncertain. That's the two-stage habit from the start of this article, finished properly.
Age Belongs in the Conversation
Don't let anyone scope your roof without asking how old it is. After Hurricane Ian, researchers compared roughly 200 homes in similar neighborhoods and found that 90% of homes with roofs installed before 2015 sustained damage, compared with only 28% of homes with roofs installed after 2015. Kansas City storms aren't hurricanes, but the principle travels. An older covering fails differently than a newer one, and repair money spent on a roof near the end of its life buys less time.
Two States Exteriors, a GAF Certified contractor serving the Kansas City metro in Kansas and Missouri since 1997, fits the cases where hail or wind is involved, the slope isn't safe for you to access, or an insurance claim needs documented findings. The company offers free on-site inspections, detailed project plans, insurance claim support, and a No Money Upfront policy, with 24/7 emergency response. Book the on-site look, bring your photo folder and install year, and let the written scope, not a guess from the curb, drive the repair or replacement call.
If last night's storm left you with granules in the gutter and more questions than answers, Two States Exteriors LLC offers free on-site roof inspections in the Kansas City metro, with photo documented findings, insurance claim support, and a No Money Upfront policy. Bring your storm notes and photos, and get a written scope that separates confirmed damage from guesswork before you decide on a repair or replacement. Schedule your inspection at Two States Exteriors LLC.