
The rain has just moved through Kansas City, and you're standing in the driveway looking at shingles scattered across the lawn. One tab is missing above the garage. The ridge cap looks crooked. Water is showing on the ceiling in the hallway, but you can't tell whether the roof needs a small patch or a complete tear-off.
That uncertainty is the expensive part of shingle roof repair. The right first move isn't grabbing a tube of roof cement or climbing a wet ladder. It's deciding whether the damage is isolated, whether the roof system is still sound, whether the storm caused the problem, and whether the repair will restore weather protection.
Shingle Roof Repair Is a Triage Decision
Three missing shingles can mean a small repair, or they can mark a larger failure. From the driveway, a homeowner may see only the obvious loss. A roofer should check for lifted edges across the slope, hail bruising near vents, damaged chimney flashing, and wet decking beneath the leak. The view from below is evidence, not a diagnosis.
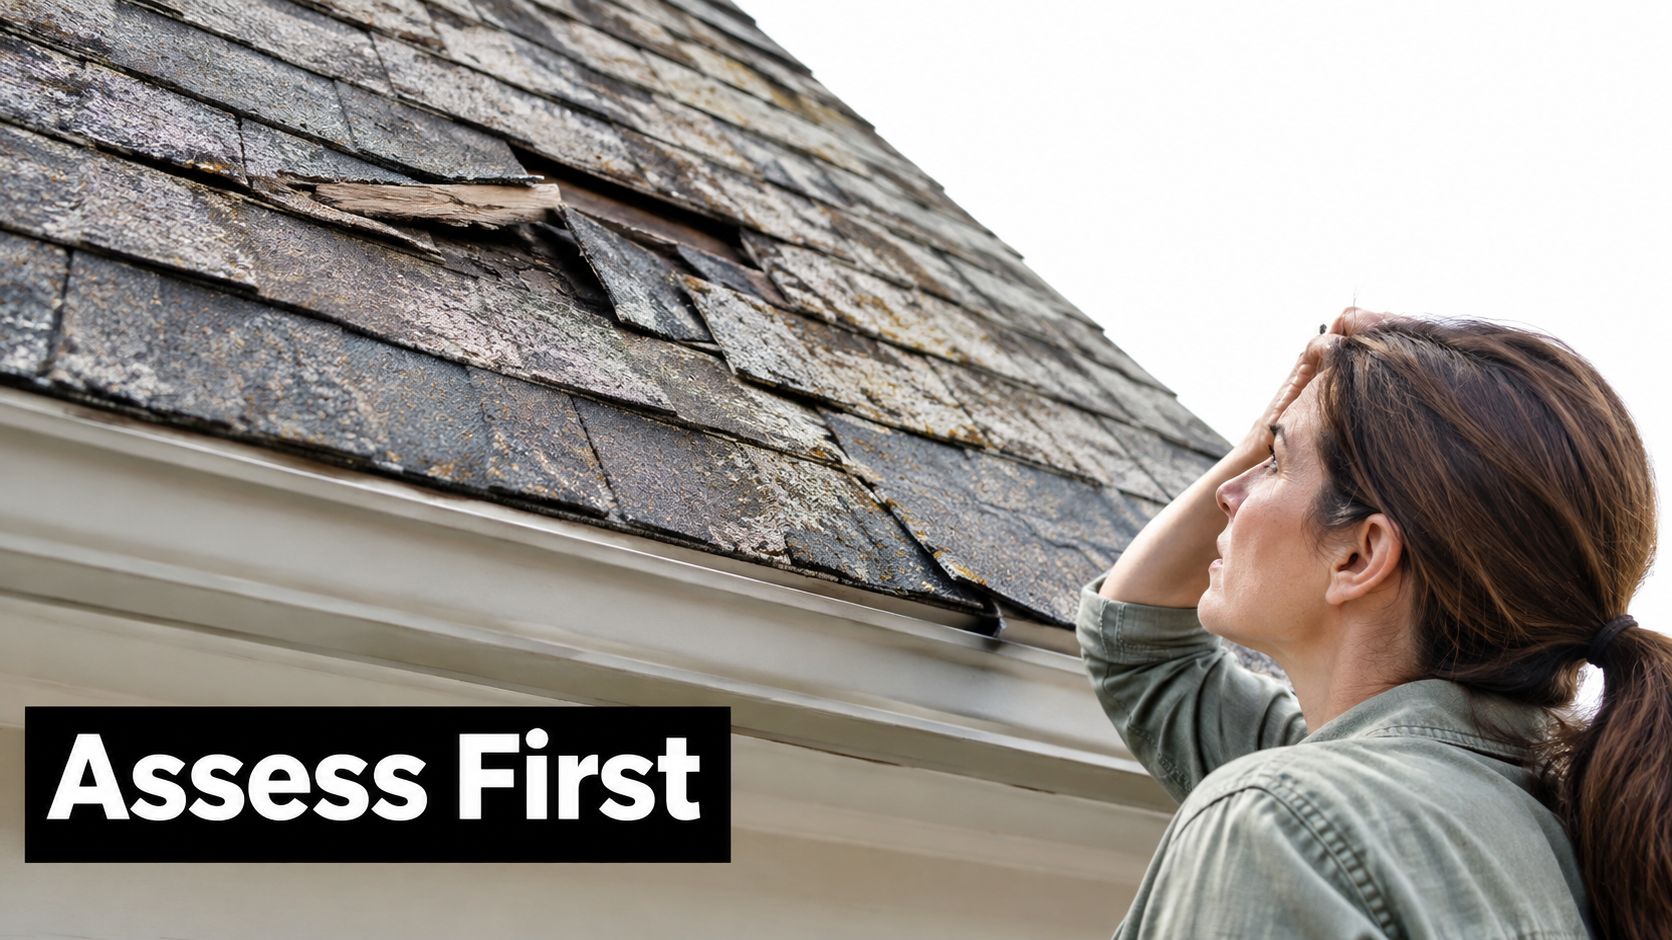
Before anyone climbs, answer four questions.
Start with the cause
What kind of damage is present? Wind can lift, crease, or remove shingles. Hail can strip granules, fracture the mat, and reduce weather resistance without creating a clean hole. Age can curl edges, dry out sealant, and leave shingles brittle enough to break during handling.
How much of the system is affected? One damaged shingle on a sound slope supports a repair. Damage across valleys, ridges, penetrations, or several roof planes calls for a broader inspection.
How old is the roof? A newer roof with isolated storm damage usually offers better repair prospects and a closer shingle match. An older roof may have widespread wear even when the visible storm damage looks limited.
Did the storm cause the failure, or expose aging? That distinction affects both the work scope and insurance. A contractor should document storm-created openings separately from pre-existing deterioration, rather than calling every defect hail damage.
Wind and hail drive much of the demand for shingle repair. The Insurance Information Institute loss summary reports that wind and hail produced approximately 42% of homeowners-insurance losses from 2018 through 2022. Related reporting places the 2022 homeowners-claim share at 40.7%. Those losses include more than shingles, so a storm inspection should also cover gutters, siding, windows, flashing, and mechanical equipment.
Practical rule: Choose the repair after someone checks the condition beneath and around the visible shingle, not because the fix looks easy from the driveway.
Sealant may temporarily hold a small, dry, accessible defect. It will not fix wet underlayment, failed flashing, soft decking, or widespread wind uplift. If water is entering the home, call a roofer rather than climbing.
Spotting Shingle Damage From the Ground and the Roof
Begin from a window or the ground. Use binoculars or a phone camera with optical zoom, and inspect every roof plane from more than one angle. Never walk onto a wet, icy, steep, or visibly unstable roof to confirm something you can safely document from below.
Look for these signs:
- Missing tabs or shingles: Bare dark rectangles, exposed underlayment, or shingles in the yard indicate that wind has opened the roof covering.
- Lifted or creased shingles: Raised corners, folded tabs, and horizontal creases often indicate wind movement. A lifted shingle can look intact while its seal has failed.
- Granule loss: Bare patches in gutters or unusually dark areas on shingle faces deserve attention. Granule loss can result from hail, impact, installation damage, or aging, so the pattern matters.
- Hail bruising: Round or irregular depressions may appear as darker marks or soft spots. Hail damage can reduce weather resistance without puncturing the shingle.
- Cracked corners and split tabs: Cracks may show along the lower edge, at the corners, or around fasteners. Those fractures can let water move beneath the shingle.
- Flashing defects: Rusted metal, separated counterflashing, loose step flashing, and failed sealant around chimneys, skylights, and vent pipes are common leak paths.
Inspect the places that hide problems
Valleys concentrate water and debris. Roof penetrations interrupt the shingle field. Ridges and hips take direct wind exposure. The north-facing slope may hide cracks beneath moss or organic growth. Check soffits, fascia, gutters, and exterior walls for staining, but don't assume the visible stain sits directly below the roof opening.
Inside the house, inspect the attic for damp insulation, darkened decking, water trails, or daylight around penetrations. Check ceilings and upper wall corners after rain. Water can travel along rafters before it appears indoors.
This hail-damage photo guide can help you compare common impact patterns, but photographs don't prove that every mark is functional damage. A qualified inspection should connect the mark to the shingle's condition and the roof's ability to resist water.
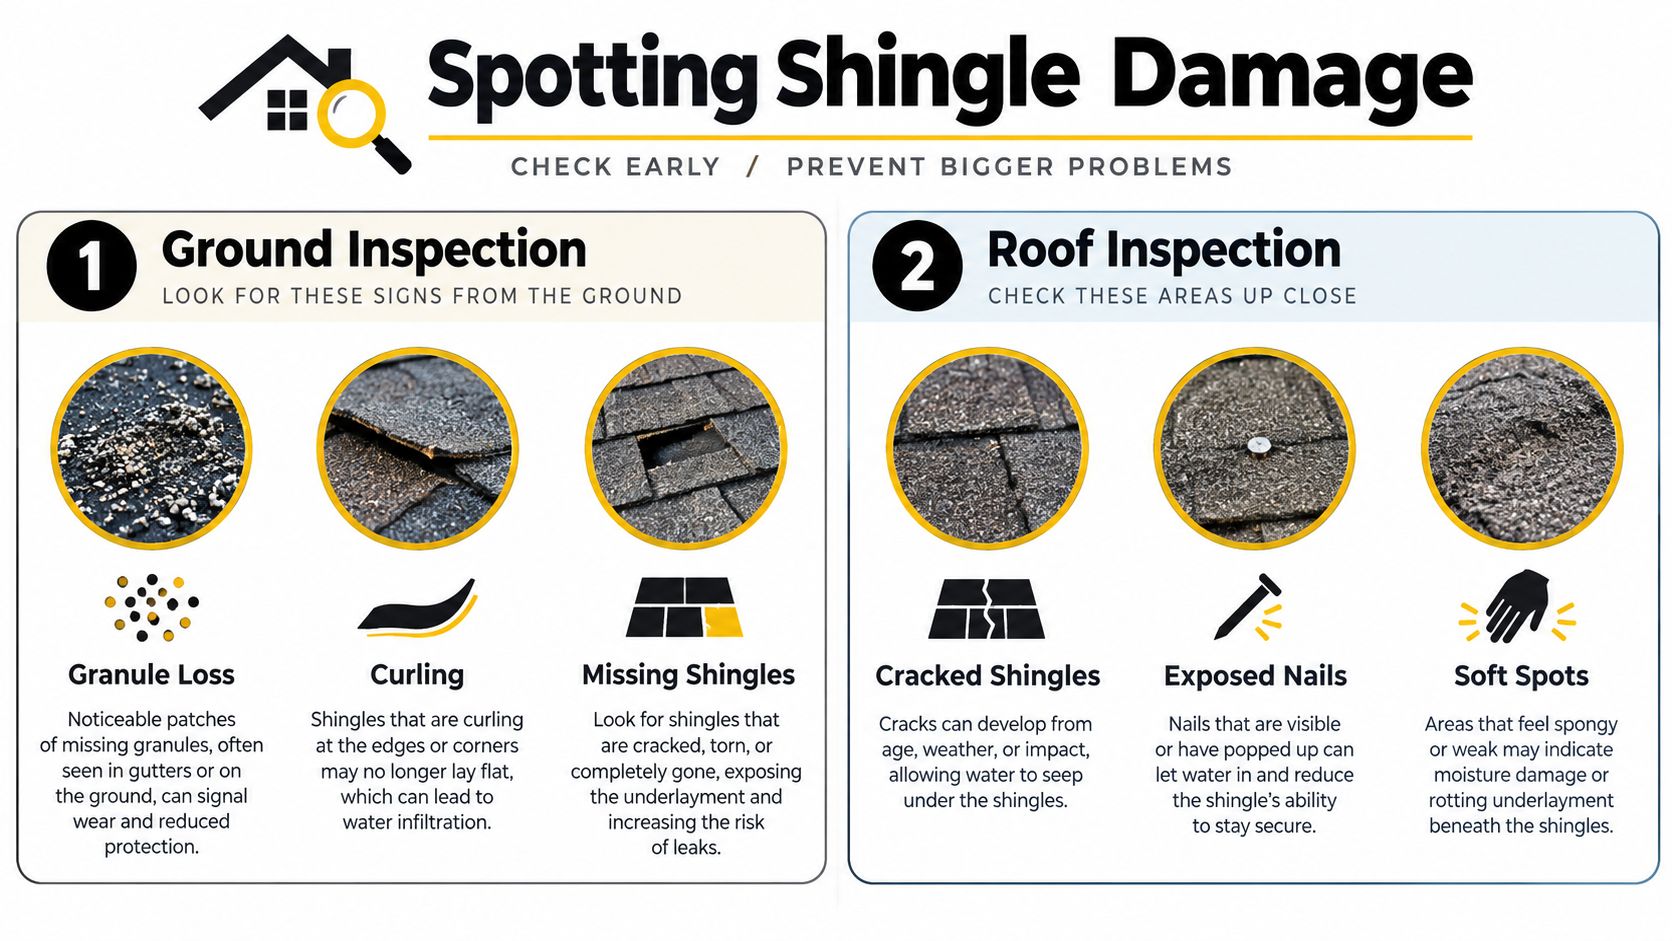
If the inspection moves beyond the ground, use proper fall protection, stable footwear, and a dry surface. A homeowner can photograph conditions from a safe position. A homeowner shouldn't cross a steep or slick slope just to inspect a questionable shingle.
When a Repair Is Enough and When You Need a Replacement
You are looking at a few lifted shingles after a Kansas City storm, not a roof-wide failure. Start with the scope, not the sales pitch. Localized damage, sound roof components, and a proper shingle match usually support repair. Widespread damage, a compromised deck, advanced aging, or too many weak patches point toward replacement.
The U.S. Department of Energy's roof repair guidance offers a practical screening benchmark: when more than 10% of the existing roof requires repair, consider reroofing instead of scattered patching. That threshold does not replace an inspection. It does warn you when isolated repairs may leave the roof inconsistent and vulnerable.
The roof deck matters more than the shingle count. Wet, rotten, or soft sheathing will continue to hold moisture and lose strength beneath new shingles. A roofer should inspect the attic and any exposed decking, then identify what needs removal, drying, or replacement. If the contractor cannot show you the affected area, ask for photographs before approving broader work.
Repair vs Replacement Quick Score
| Factor | Favors Repair | Favors Replacement |
|---|---|---|
| Damage pattern | One area or a few isolated shingles | Damage across multiple slopes, ridges, valleys, or penetrations |
| Shingle condition | Flexible, serviceable shingles with intact surrounding seals | Brittle, curled, cracked, or broadly unsealed shingles |
| Roof age | Relatively newer system with a reliable product match | Older system with fading, discontinued profile, or widespread wear |
| Decking | Dry, firm, and free of structural damage | Soft, wet, stained, or deteriorated sheathing |
| Storm impact | Localized functional damage with documented locations | Numerous impact areas and related damage to flashing or accessories |
| Repair proportion | Small enough to preserve a consistent roof system | More than 10% requiring repair, based on DOE guidance |
| Insurance scope | Covered damage can be isolated and repaired | The approved scope and roof condition support broader work |
Hail damage demands evidence, not a reflexive replacement recommendation. Verisk's State of America's Roofs report reports average residential roof repair costs of $4,699 in 2025 and average replacement costs of $17,631. On a 20-square Kansas City roof section, the repair average may represent targeted shingle work and related components, while the replacement figure signals a much larger scope. Use those figures as budget context, not as proof that your roof needs replacement.
A sound contractor will mark impact locations, explain whether they affect shingle performance, and check nearby flashing and accessories. Your insurer should explain why it approves, limits, or denies each part of the scope. Reject both shortcuts: “hail means full replacement” and “it only looks cosmetic.” The roof condition must support the decision.
What an Honest Shingle Repair Looks Like on the Roof
A proper shingle repair starts with a dry, safe work area and a defined scope. The roofer protects siding, landscaping, and walkways, then identifies every damaged component before opening the roof. If rafters, trusses, or sheathing show structural damage, the job may require a structural engineer rather than a quick roofing patch.
The damaged shingle should come out without tearing the surrounding course. A roofer slides a flat pry bar beneath the tabs above it, breaks the old seal carefully, and exposes the nails holding the damaged shingle. Those nails come out with controlled pressure. Pulling the shingle upward can damage the mat, loosen nearby fasteners, and turn a small opening into a larger repair.
The replacement has to match the roof system
The replacement shingle slides into the same position and follows the existing course exposure and alignment. The roofer uses the manufacturer-specified fastener type, quantity, and nailing zone. Nail placement affects wind resistance and water protection. An under-driven nail leaves its head exposed, while an over-driven nail can cut through the shingle and reduce holding power.
The replacement also has to protect the layers beneath the shingles. This roof underlayment explanation shows why that hidden layer matters. If the underlayment is compromised, the roofer removes wet material, dries the deck, and installs a compatible weather-resistant barrier before closing the assembly. A 4-inch self-adhered asphalt or rubber tape may be appropriate at sheathing joints when the repair specification calls for it.
A new shingle over wet decking is not a repair. It is a concealed moisture problem.
Flashing, valleys, and penetrations need their own inspection. Replacing only the visible shingle while leaving damaged step flashing or open valley protection does not restore the roof. The same applies to attic moisture, wet insulation, and interior staining. The roofer must trace the water path and correct the source, not cover the symptom.
The final stage is resealing. Existing sealant may fail to bond when the weather is too cool, the surface is dirty, or the shingle is misaligned. The installer uses an approved sealant where required, presses the tabs into place, and confirms that the repaired area sheds water without obstructing drainage.
A homeowner should receive a clear explanation of what was replaced, what remained intact, and why. That record helps distinguish a targeted repair from a contractor who only covers visible damage.
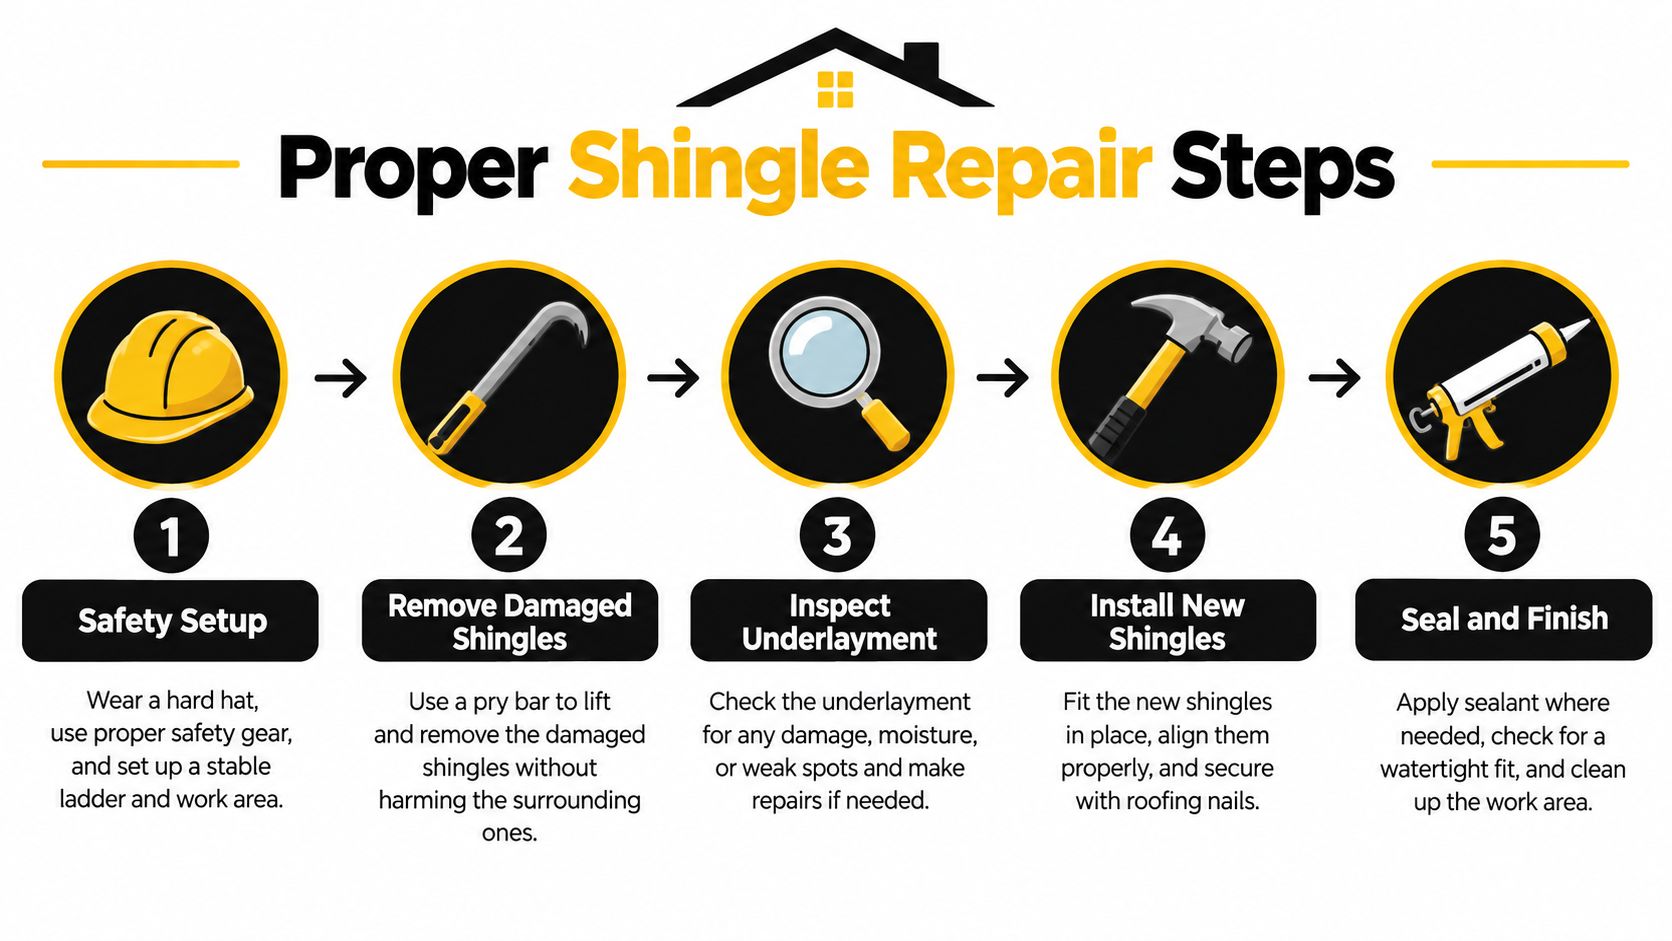
For a visual example of the repair sequence, review the following roofing video before comparing contractor proposals.
What a Homeowner Can Safely DIY and What to Leave Alone
A homeowner can handle a few ground-level maintenance tasks. Roof work is different. Asphalt shingles become slippery with moisture, and a steep or damaged slope can turn a minor repair into a serious fall.
Safe homeowner tasks include clearing leaves from accessible gutters, documenting damage from the ground, securing loose debris away from walkways, and placing a temporary water barrier during an active leak if you can do so without climbing onto the roof. A single loose shingle may look manageable, but the work still involves lifting adjacent courses, removing nails, setting fasteners correctly, and resealing the tabs.
The line between handy and hazardous
Leave the roof to a qualified crew when:
- The surface is wet or steep: Rain, frost, ice, and moss change traction immediately. Don't treat dry conditions earlier in the day as a guarantee that the roof is safe now.
- The damage crosses multiple courses: A broad repair can involve underlayment, flashing, and hidden water migration.
- The deck feels soft: Softness indicates a possible sheathing or moisture problem. Stop walking and arrange an inspection.
- Flashing is corroded or displaced: Chimneys, walls, valleys, skylights, and vent pipes need detail work that sealant alone won't fix.
- The roof is under warranty: Manufacturer instructions govern shingle handling, fasteners, sealants, and installation conditions. Improper homeowner work can complicate a warranty conversation.
- The leak is active inside: Temporary protection may be necessary, but a professional should identify the entry path and dry the assembly.
Two States Exteriors LLC offers inspections and asphalt shingle repairs, including localized replacement of missing or damaged shingles and evaluations after hail events. That's one option to compare with other licensed, insured roofing contractors in the Kansas City area.
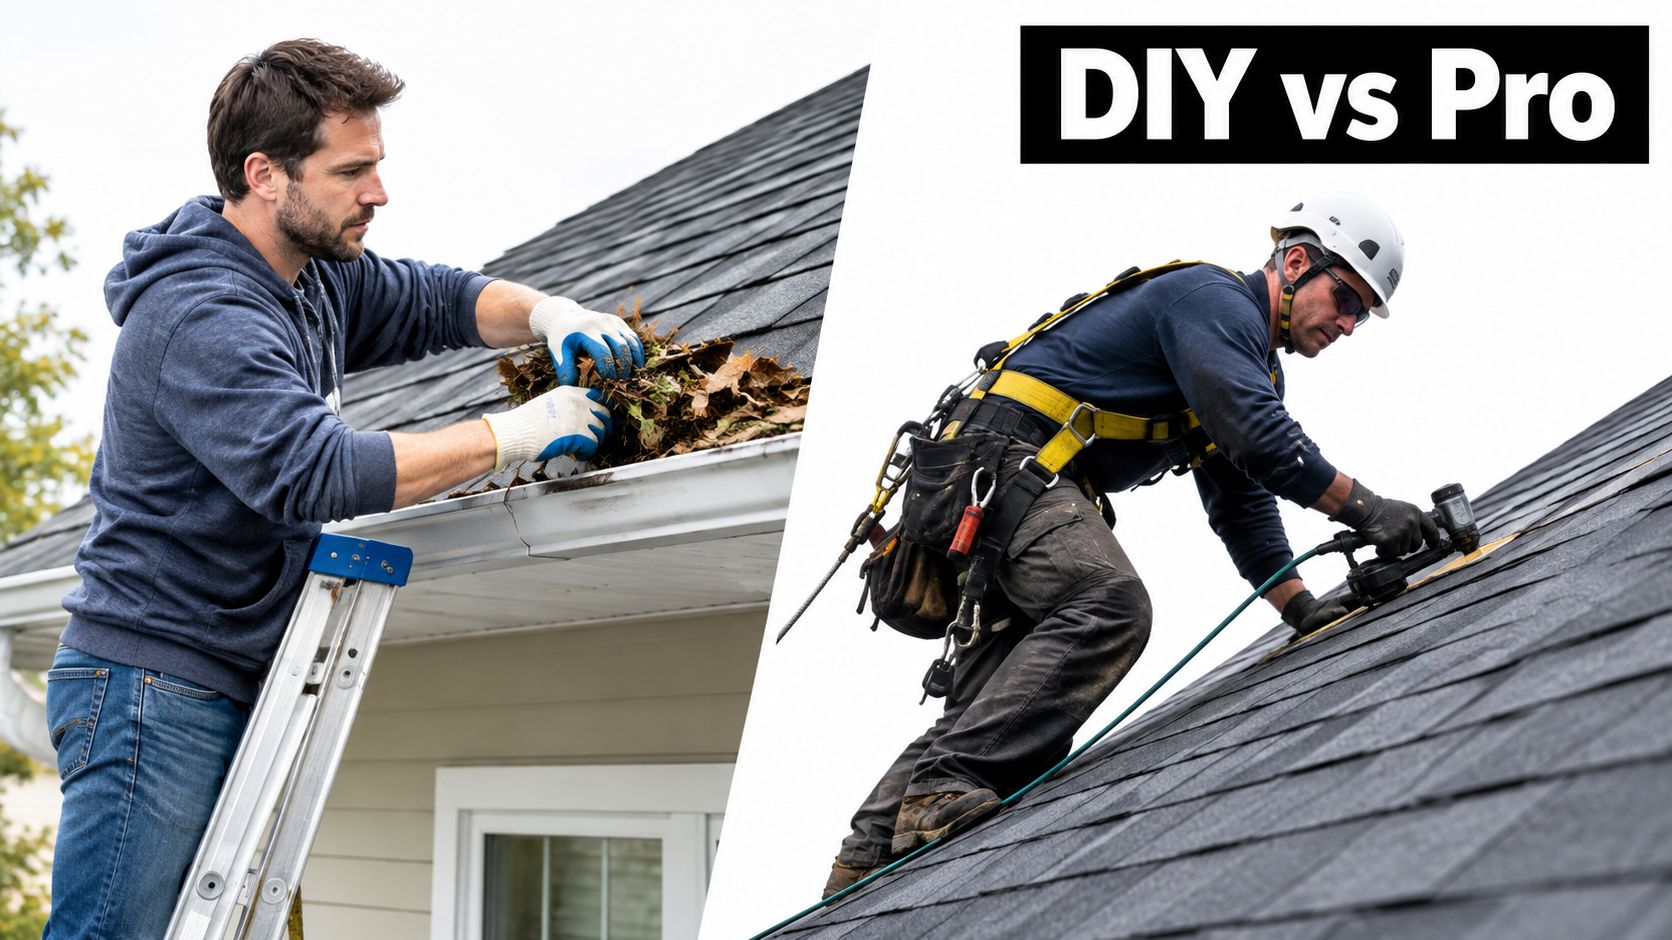
If you do use a ladder for gutter work or ground-accessible inspection, set it on firm, level ground, keep three points of contact, and stay off the roof. The cost of a professional repair is easier to absorb than the cost of a fall, damaged roof system, or failed warranty claim.
Working With Insurance After Storm or Hail Damage
After a storm, documentation is your job. Start before anyone removes shingles or spreads sealant. Photograph the roof from the ground, the yard, gutters, siding, windows, vents, interior stains, attic conditions, and any temporary protection. Record the storm date as accurately as you can and keep receipts for emergency work.
Wind and hail losses are substantial in Kansas and Missouri. Insurance.com reports that State Farm paid more than $5.6 billion in hail claims in the referenced year, with Missouri accounting for $638 million and Kansas for $235 million in that reporting. The Insurance.com hail-claims overview also reports an average homeowners hail claim of $13,511, while clarifying that the figure covers the entire property claim, not just the roof.
That distinction changes the inspection. A hail event may damage shingles, gutters, siding, vents, windows, and air-conditioning equipment at the same time. Ask for a written scope that lists each component separately instead of accepting a single line that says “storm damage.”
Build a claim file that can be checked
Use this sequence:
- Protect the interior: Stop active water entry with safe temporary measures. Don't permanently cover evidence before photographing it.
- Document conditions: Capture wide views, close-ups, affected elevations, interior staining, and storm debris.
- Request an inspection: Ask the contractor to distinguish functional damage from cosmetic marks and pre-existing wear.
- Open the claim promptly: Give the insurer the storm date, observed damage, temporary-work details, and photographs.
- Compare the scope: Check whether the estimate includes flashing, underlayment, ridge components, ventilation, gutters, and code-related work where applicable.
- Question partial approvals: Ask the adjuster to identify the policy language and physical findings supporting each exclusion.
Use a contractor who can explain the scope without promising an insurance result. A proper supplement documents overlooked damage with photographs, measurements, product information, and code requirements. It doesn't inflate the claim or pressure you to sign before you understand the work.
The hail-damage insurance claim guide can help you prepare questions before the adjuster arrives. You still control the claim, the contractor choice, and the agreement you sign.
A Short Field Checklist Before You Climb or Call
Before you touch the roof, check the attic, photograph the exterior, and identify whether the damage is isolated or spread across several areas. Don't seal over wet decking, ignore flashing, mix incompatible shingles, rush a temporary tarp, or skip moisture signs indoors. Ask every roofer for licensing and insurance information, a line-item estimate, labor-warranty terms, the planned fastener pattern, and an explanation of any decking allowance.
Impact-resistant shingles may be worth comparing in a hail-prone area. IBHS research examines realistic 1.5-inch and 2-inch ice impacts, including granule loss, dents, tears, and the performance of aged asphalt products, as described in its 2025 research agenda. Treat the rating as one part of a roof-system decision, not a promise of hail-proof performance.
Two States Exteriors LLC provides Kansas City-area shingle roof inspections, localized repairs, storm and hail evaluations, and insurance-claim support. Visit Two States Exteriors LLC to request an on-site inspection and get a written repair recommendation before a small roof problem becomes a larger one.


